
How to Assemble a Hall Tree: the Stress-free Step-by-step Guide
Learn how to assemble a hall tree the stress-free way — a complete step-by-step guide to cam locks, dowels, wall anchoring, and the final safety check.
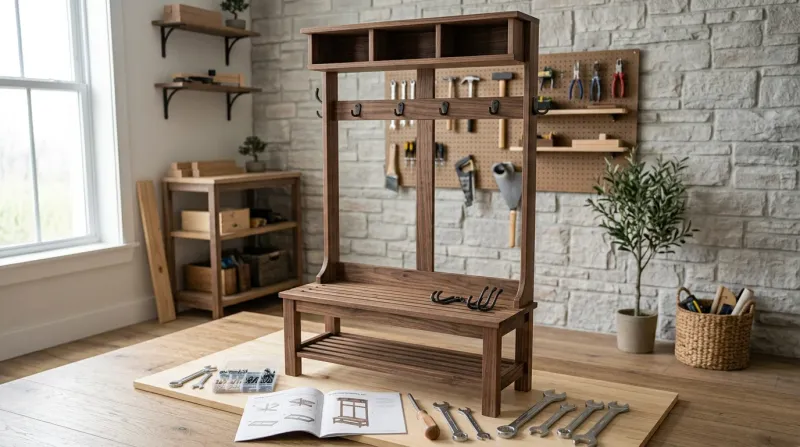
Aug 7, 2026 · Linda Wise
15 min readAssembling a hall tree is 80% unboxing patience, 15% hand-tightening, and 5% swearing at a cam-lock — here’s the stress-free way.
Flat-pack furniture is not trying to punish you. It’s trying to ship the most furniture in the least box, which means panels, rods, and fasteners arrive sorted the way a toddler sorts blocks: confidently wrong. The good news is that every hall tree follows the same bones — sides, shelves, a bench, a coat rail, and a backing board — so once you learn the rhythm, you can assemble almost any brand.
This guide walks you through the whole job in order, explains the mysterious hardware in plain English, and keeps safety front and center (literally: the anchoring step is non-negotiable). If you haven’t bought a hall tree yet, start with our roundup of the best hall trees so you shop with a stable, well-made unit in mind — because assembly is a lot easier when you’re not fighting cheap particleboard. Ready? Let’s build.
Before You Start (tools, space, and reading the manual)
Clear a space about twice the footprint of the finished unit and lay down the shipping cardboard — it protects the panels and your floor. Gather the tools you actually need: a Phillips screwdriver (or a drill with the clutch set to its lowest setting), a mallet or rubber hammer, a level, a tape measure, a pencil, and a stud finder for the anchoring step at the end.
Read the manual once before touching a single panel. Manufacturers number every part for a reason, and flipping back and forth mid-build is how you install a side panel backward and discover it three steps later. Check the parts list against what’s in the box, and sort fasteners into small bowls or lids by size. Losing one cam screw is a trip to the hardware store; losing it inside a grease trap of packing peanuts is a personality change.
If your unit came from our guide to the best hall trees, it will also list an estimated build time — budget double it for your first one. This is not a race. This is a very large LEGO set with consequences.
Step-by-Step Assembly in Order
Every hall tree builds the same way: base first, then sides, then shelves and bench, then the coat rail and top, then the backing board, and finally the wall anchor. Follow that order and the unit stays square the whole way.
-
Prep the panels in piles. Separate the larger panels by hand: left side, right side, shelves, back. Look for the pre-drilled holes near the bottom — those tell you which end is up. Tip: Mark the back edges of the side panels with painter’s tape so you never install one facing the wrong way.
-
Lay the side panels flat, holes facing each other. If the manual allows, build the entire front section lying down; it is far easier to push joints fully together on the floor than on the wall. Tip: Flat build first, stand it up last — that one habit prevents more misaligned joints than any tool.
-
Insert the wooden dowels first. Dowels do the aligning; the screws do the holding. Tap each one in gently with your palm or a rubber mallet until it sits flush. Tip: A tiny drop of white wood glue on each dowel tip swells it inside the hole — a loose friction fit becomes a permanent one.
-
Line up the panels and push the joints home. Fit the dowels into their matching holes, then slide the panels together until the gaps close. If a joint won’t seat, it is almost always a misaligned dowel, not a defective panel — wiggle gently until it drops in. Tip: Push, don’t hammer. If it resists, stop and check, then push again.
-
Turn every cam lock by hand with a screwdriver. You’ll learn the camera-lens shape below, but for now: rotate each lock clockwise until it stops with a satisfying click. Hand-tighten until snug, then a quarter-turn more. Power tools at this step are how you meet replacement parts. Tip: Use the screwdriver, not the drill — impact drivers crack panel faces and strip threads.
-
Install shelves and the bench seat next. Seat each shelf onto its dowels and secure it with the cam locks or flat-head screws supplied, working from the bottom shelf upward. Tip: Check the gap on each side as you go — equal gaps mean a square frame.
-
Mount the coat-hook rail and the top crown. The rail carries real weight once jackets hang from it, so use every screw hole and keep the screws straight. If your unit has decorative crown trim, hand-drive those small screws — they split easily. Tip: Pre-drill the trim with a 1/16-inch bit so you hang the crown, not a fragment of it.
-
Attach the backing board last, and don’t skip it. That thin board is not cosmetic — it stops the frame from racking side to side. Center it, square the frame by measuring diagonally corner to corner, then drive fasteners every 6 inches around the perimeter. Tip: Equal diagonal measurements (within 1/16 inch) mean the frame is square; the backing board locks that in.
How Can I Safely Assemble a Hall Tree at Home? (anchoring + two-person tips)
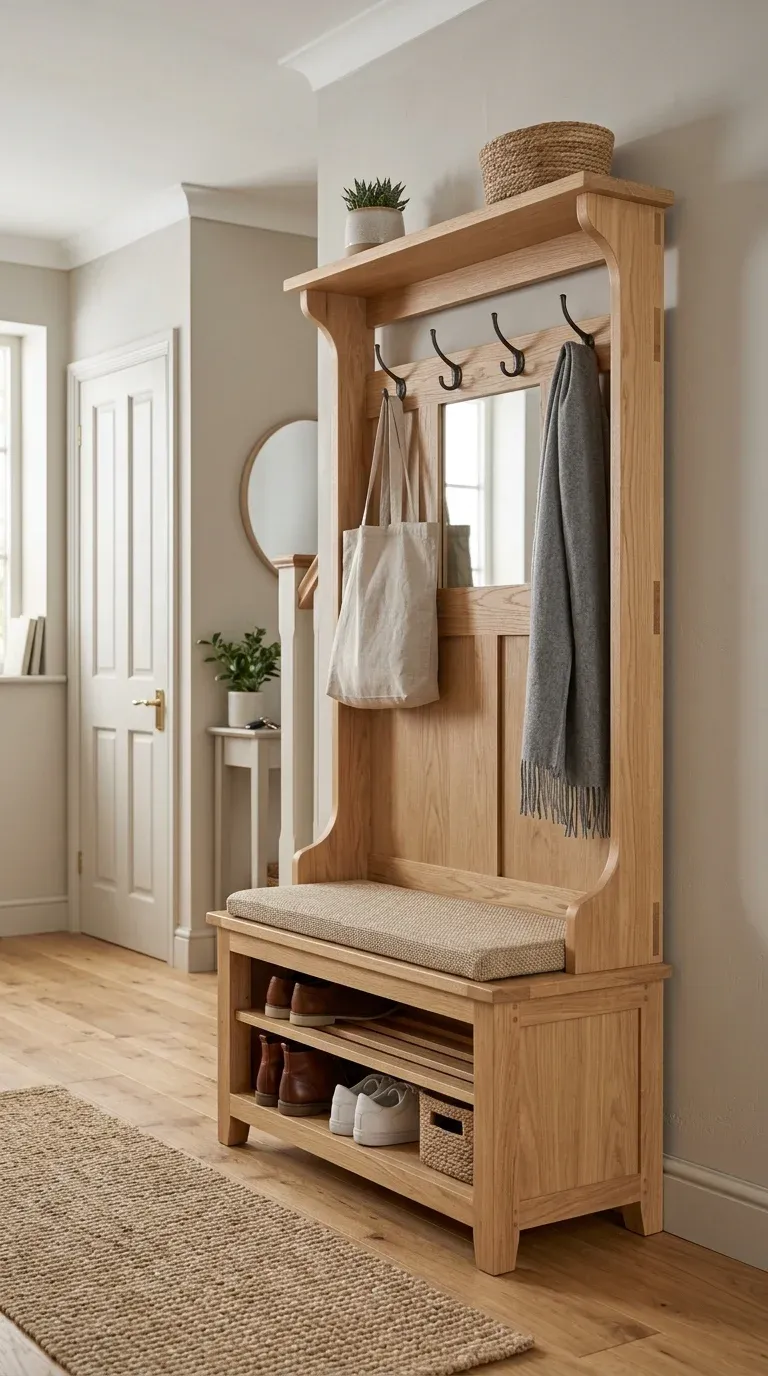
How can I safely assemble a hall tree at home? Safely means two things: you don’t hurt yourself, and the finished unit can’t hurt anyone else. Anchor the hall tree to the wall using the included anti-tip strap or bracket kit — screw the bracket into the top rail, then drive the long screws into wall studs, not drywall. For tall units, lift the frame with two people, keep your backs straight, and tilt the unit upright from its side rather than pulling it from the top.
Never skip the wall anchor. A loaded hall tree’s center of gravity sits high, and a child climbing the bench or a heavy bag hung from a top hook can tip a 60-pound piece of furniture like it weighs nothing. The anchor is a five-minute step that prevents a worst-case day.
Two-person lifting is not just for heavy solid-wood units — even a light MDF hall tree is awkward and wobbly when raised. One person steadies the frame while the other guides the feet over the baseboard; once it’s proud against the wall, adjust the leveling feet until the top is level and the frame touches the wall at both corners. A tree that tilts forward has a shorter trip to the floor.
If the unit wobbles after assembly — or develops a wobble months later — don’t guess: read our guide on hall tree wobble and anti-tip repair, which covers diagnosing loose cam joints, reinforcing backing boards, and installing aftermarket anti-tip hardware.
Cam Locks, Dowels & Hidden Screws Explained
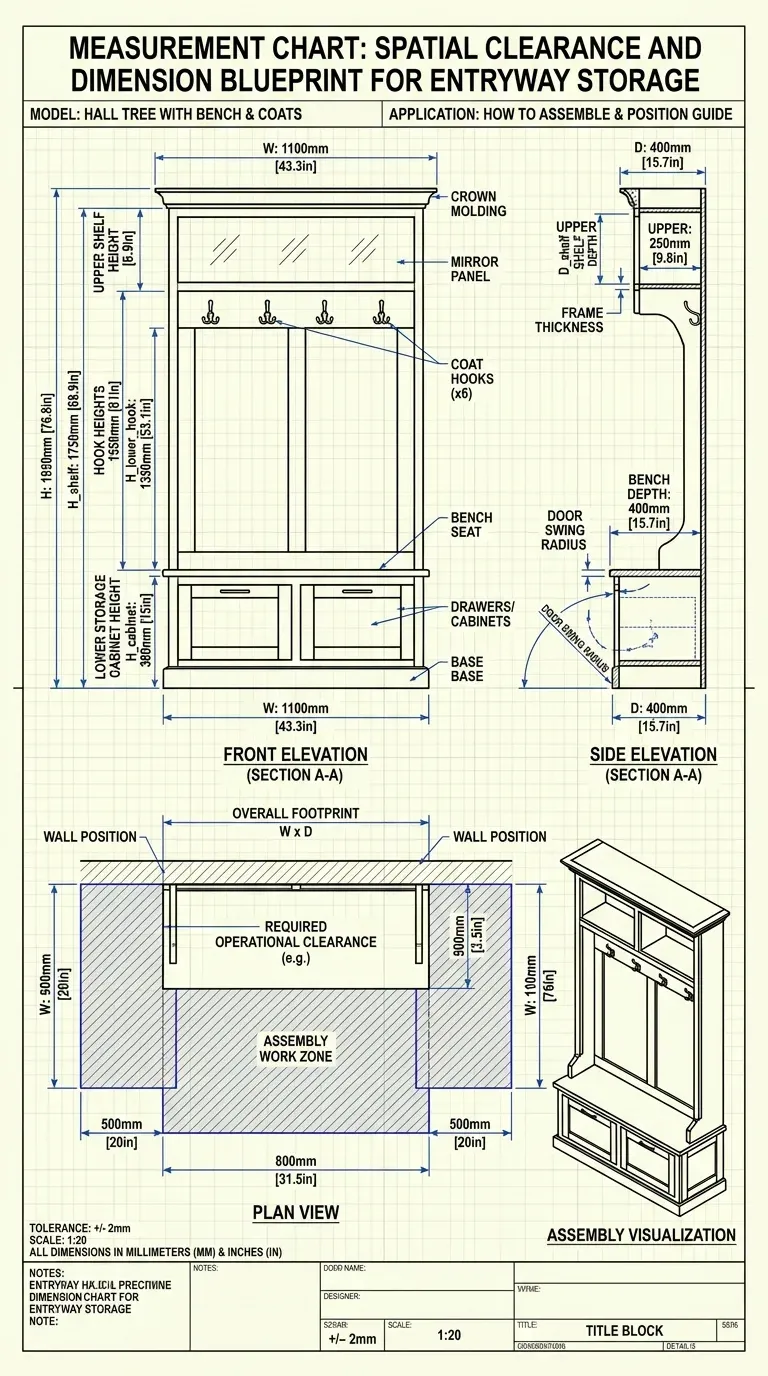
The cam lock is the reason flat-pack furniture exists, and the reason people swear at it. Here’s the whole secret: a cam stud is a metal bolt screwed into one panel’s face. A cam lock is a round housing with a slot, set into the neighbor panel’s edge. Slide the panels together so the stud head enters the slot, then turn the lock — the slot’s curved ramp grabs the stud head and pulls both panels tight. That’s all it does. It is a tiny winch for furniture.
The dowel is the unsung hero. It does no pulling at all; it just keeps the panels perfectly aligned so the cam can do its job straight. Hidden screws are ordinary screws hiding behind plastic caps or under stickers — spin the cap off with the flat side of the screwdriver, drive the screw, snap the cover back on. On benches, lift-top lids hide their hinges and pins the same way.
Common failure modes, and how to fix them:
- The lock turns but the joint stays loose. Usually the stud is too shallow or too deep in its panel. Back it out a quarter-turn and re-lock; set it so the stud’s shoulder sits flush with the wood.
- The lock won’t turn at all. A misaligned stud head is jammed against the slot. Gently rock the panels apart, re-seat the dowels, and try again — never force it.
- A stripped cam hole. Mix a little wood glue with fine sawdust from the pre-drilled waste holes, pack the paste into the damaged hole, let it dry fully, re-drill a small pilot hole, and screw the stud back in. It will hold like new.
The 10-Minute Final Check
Before you declare victory and hang everything on it, spend ten minutes on a safety walk-around:
- Anchor check: Confirm the anti-tip bracket is screwed into both the top rail and a wall stud, and that the strap is taut. This is the one step that protects people, not just the furniture.
- Wiggle test: Grip the top of the unit and push from side to side. Any sway means a loose cam lock or a backing board missing fasteners — retighten before loading.
- Level test: Put a level on the bench seat and the top shelf. Adjust the leveling feet until the bubble sits centered, so weight always travels straight down the frame.
- Hook pull test: Tug each coat hook downward and at a 45-degree angle. A hook that flexes is probably screwed into hollow panel — heavier loads should hang from hooks anchored into the rail or stud.
- Drawer and door test: Open and close every hinge or drawer a few times. A door that scrapes is a hinge screw one quarter-turn too loose, not a call to disassemble.
- Screw inspection: Glance at every visible screw and cam lock and give any that looks less than snug one more turn by hand.
This checklist takes minutes but catches the two failures that actually matter — a loose cam joint and a missing anchor — before they become a weekend project. Done right, your hall tree will shrug off a decade of backpack hangings, muddy boots, and wet umbrellas. And the next flat-pack box that arrives? You’ll open it knowing exactly which end is up.
For keeping your entryway organized beyond the build, our complete guide to hall trees covers layouts, cubby configurations, and sizing — the kind of knowledge that turns a successful build into a genuinely useful one.
Top Picks: Best Hall Trees & Coat Racks
Editor's shortlist with verified ratings. Prices and availability below — clicking an Amazon link earns us a small commission at no extra cost to you.
| # | Product | Rating | Reviews | Tag | Check Price |
|---|---|---|---|---|---|
| 1 | Crosley Furniture Seaside Hall Tree | 5,410 | Top Pick | Check Price | |
| 2 | HOOBRO Hall Tree with Bench | 2,230 | — | Check Price | |
| 3 | VASAGLE Hall Tree with Bench & Coat Rack | 1,820 | Best Modern | Check Price | |
| 4 | Alaterre Aspen Hall Tree | 980 | — | Check Price | |
| 5 | Pemberly Row Farmhouse Hall Tree | 1,450 | Best Farmhouse | Check Price |
Affiliate disclosure: As an Amazon Associate we earn from qualifying purchases.
Tag: smartlyhomme-20 — change in src/data/topPicks.ts.