
Diy Hall Tree Bench: Free Plans + How to Build
How to build a hall tree: free DIY bench plans with a full cut list, hardware list, and plans PDF download, plus 10 numbered steps from frame to finish.
Aug 11, 2026 · Linda Wise
15 min readBuilding a DIY hall tree is a two-weekend project that saves you $300 and — honestly — fits your house better than anything in a box store’s catalog.
Plans first: every cut, every screw, every coat laid out before you touch a tool. The design is a 40-inch bench-and-tower hall tree in Baltic birch plywood with poplar trim — slatted shoe shelves for wet boots, double-prong hooks on a solid rail, and a seat strong enough for the whole family. Materials run about 500-plus with worse joints.
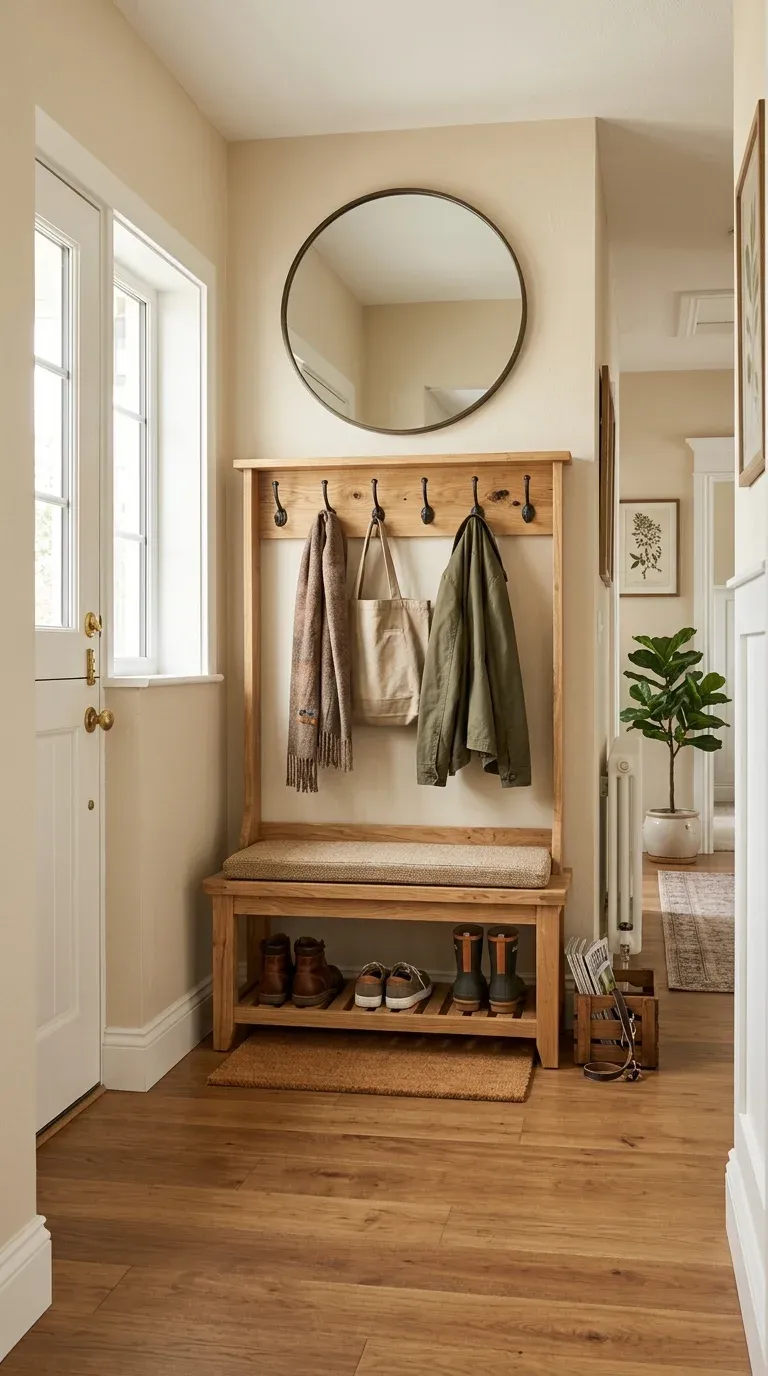
How to Build a Hall Tree: The Full Plan
Before the first cut, know what you’re building. The hall tree has three zones stacked on one frame:
- Bench zone (0–18”): double-thick 1.5-inch seat, slatted shoe cubbies below, toe kick in front.
- Hanging zone (18–64”): coats and bags on double-prong hooks at adult and kid heights.
- Shelf zone (64–76”): a 12-inch-deep top shelf for hats and off-season baskets.
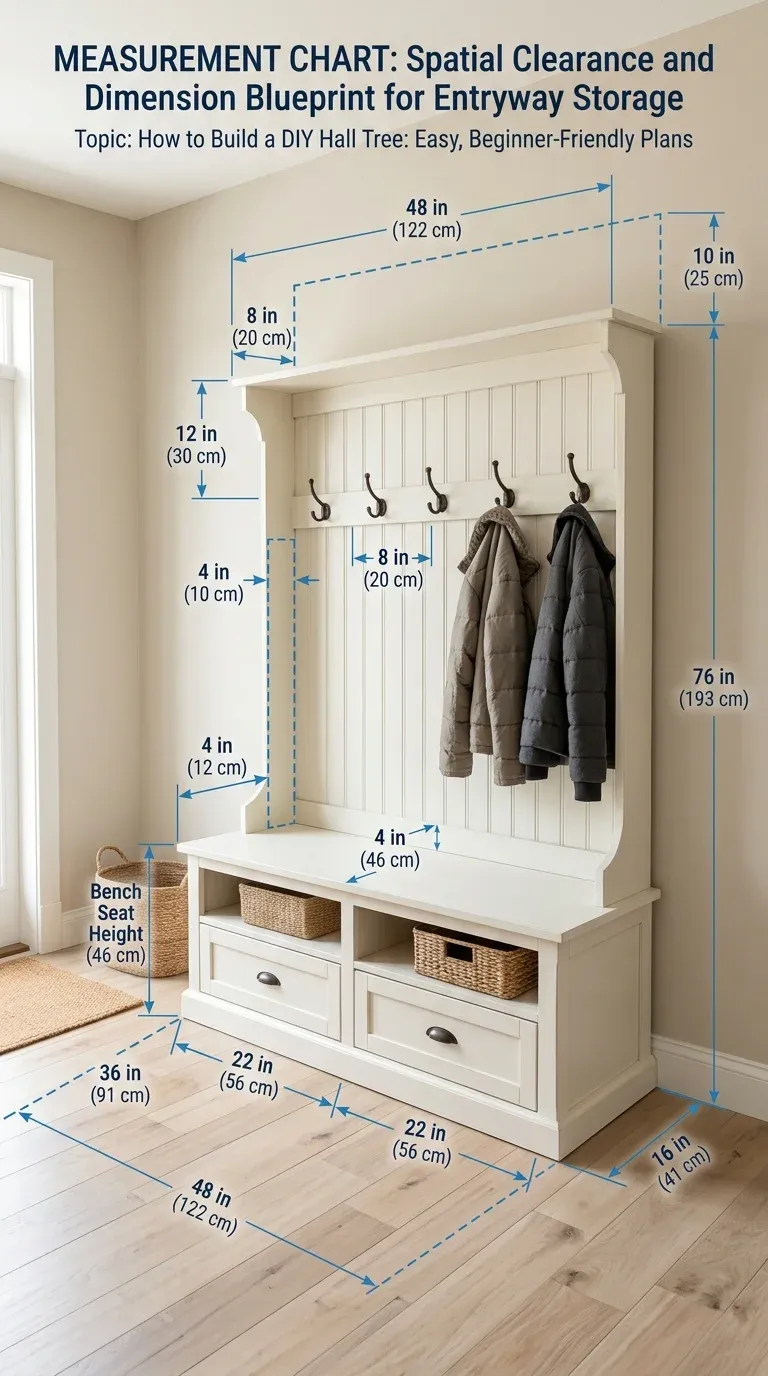
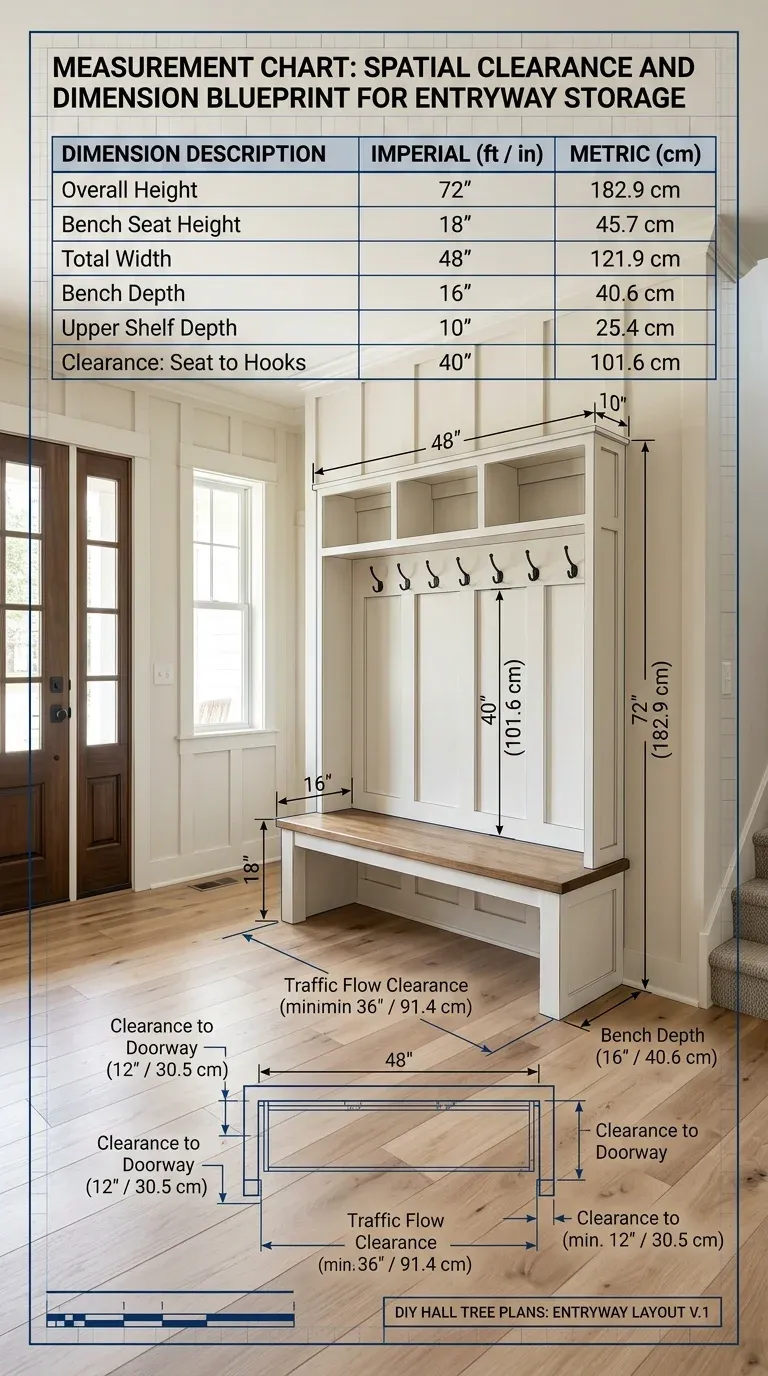
The dimensions that matter:
| Feature | Target | Why it’s non-negotiable |
|---|---|---|
| Overall height | 72–76 inches | Long coats clear the bench |
| Bench height | 18 inches | Adult knees rest at 90 degrees |
| Bench depth | 16–18 inches | Deep enough to sit, shallow enough to walk past |
| Bench width | 38–40 inches | Two adults side by side |
| Base depth at floor | 16 inches | Keeps center of gravity low |
| Hook spacing | 10 inches on center | Coats never crowd each other off |
Two weekends sounds long; it isn’t. Weekend one: cutting and the bench box. Weekend two: the tower, finish, and anchor. A circular saw, a drill, and a pocket hole jig cover the whole build — no joinery harder than glue, screws, and clamps.
Materials & Cut List (with plans PDF)
Grab the plans PDF first — cut diagram, hardware list, and step photos in one printable file, so you’re not scrolling your phone with sawdust on your hands. Everything below is in the download too, sized for the workshop wall.
Materials:
| Qty | Material | Purpose |
|---|---|---|
| 2 sheets | 3/4” Baltic birch plywood (4x8) | Frame, bench, tower |
| 1 sheet | 1/4” Baltic birch plywood (4x8) | Back panel (the shear wall) |
| 4 | 1x2x8 select poplar | Face frames and trim |
| 1 | 1x3x8 select poplar | Hook rail and top crown |
| 1 box | 1-1/4” pocket hole screws | Assembly |
| 1 box | 3/4” and 1-1/4” wood screws | Back panel and trim |
| 1 bottle | Titebond II or III wood glue | Every joint — the real strength |
| 4+ | Heavy-duty double-prong cast iron hooks | The hanging zone |
| 1 qt | Water-based polyurethane (satin) | Three coats, five on the seat |
The cut list (from the plans PDF):
| Part | Size | Qty |
|---|---|---|
| Side panels | 16” x 72” | 2 |
| Bench top | 18” x 40” (two 3/4” layers glued) | 1 set |
| Bench bottom | 16” x 38-1/2” | 1 |
| Upper shelf | 12” x 38-1/2” | 1 |
| Upper divider | 12” x 50” | 1 |
| Lower divider | 16” x 14” | 1 |
| Back panel | 1/4” ply, cut to frame | 1 |
| Hook rail + trim | from the poplar stock | per plans |
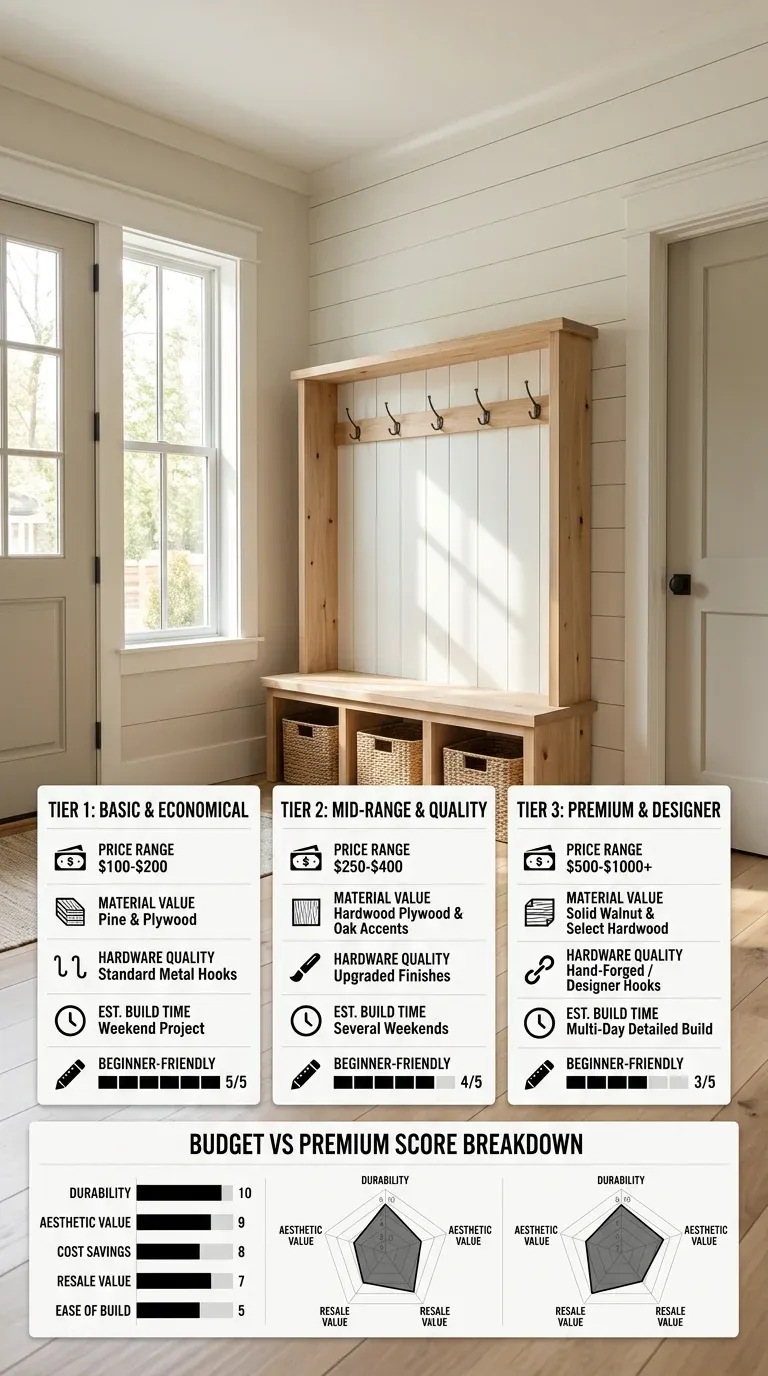
Free Hall Tree Plans (cut list, hardware list, PDF download)
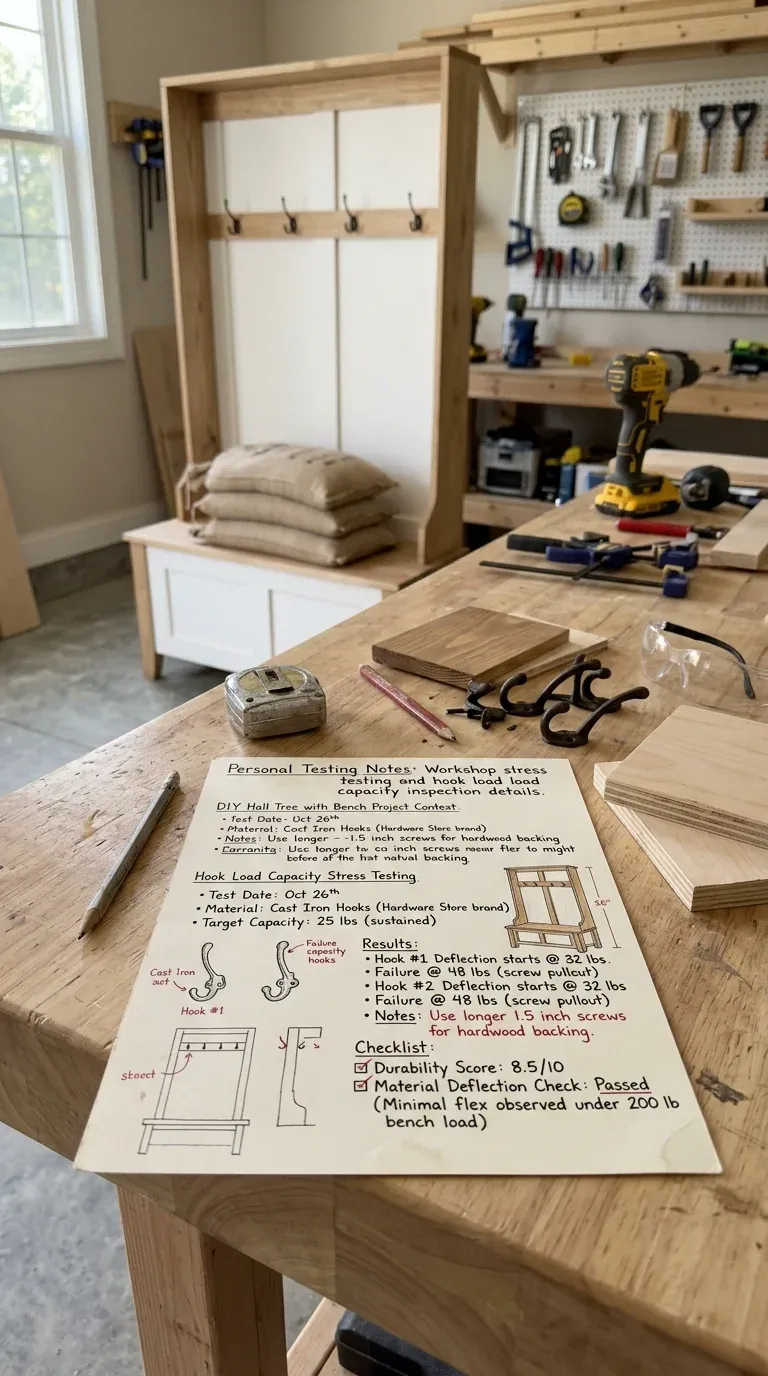
The free hall tree plans download includes the printable cut list above, the full hardware list, the assembly diagram, and my notes on the two joints people get wrong. It also saves the classic $25 first-timer mistake — the wrong screw length: you want 1-1/4” pocket screws for 3/4” plywood, nothing longer.
Full hardware list:
- 1-1/4” pocket hole screws (fine thread)
- 3/4” wood screws (back panel, every 6 inches)
- 2” construction screws (bench top from underneath)
- 3” cabinet screws (anchoring to studs)
- Titebond II/III wood glue
- 4–6 double-prong cast iron hooks
- Water-based polyurethane, satin — 1 qt
And the house rule, stolen from a cabinetmaker friend who’s rebuilt more hall trees than I’ve organized: measure twice isn’t the rule. ‘Cut once, swear once, buy twice’ is. Let’s avoid that — cross-check every cut against the plans before you start a sheet; plywood doesn’t forgive.
Step 1–10: Frame, Bench, Back, Hooks, Finish (numbered)
Step 1: Cut the panels. Break down both sheets with a straight-edge-guided saw and a 60-tooth blade to prevent tear-out on the face veneer. Sand at 120 grit before assembly — far easier than chasing tight corners later.
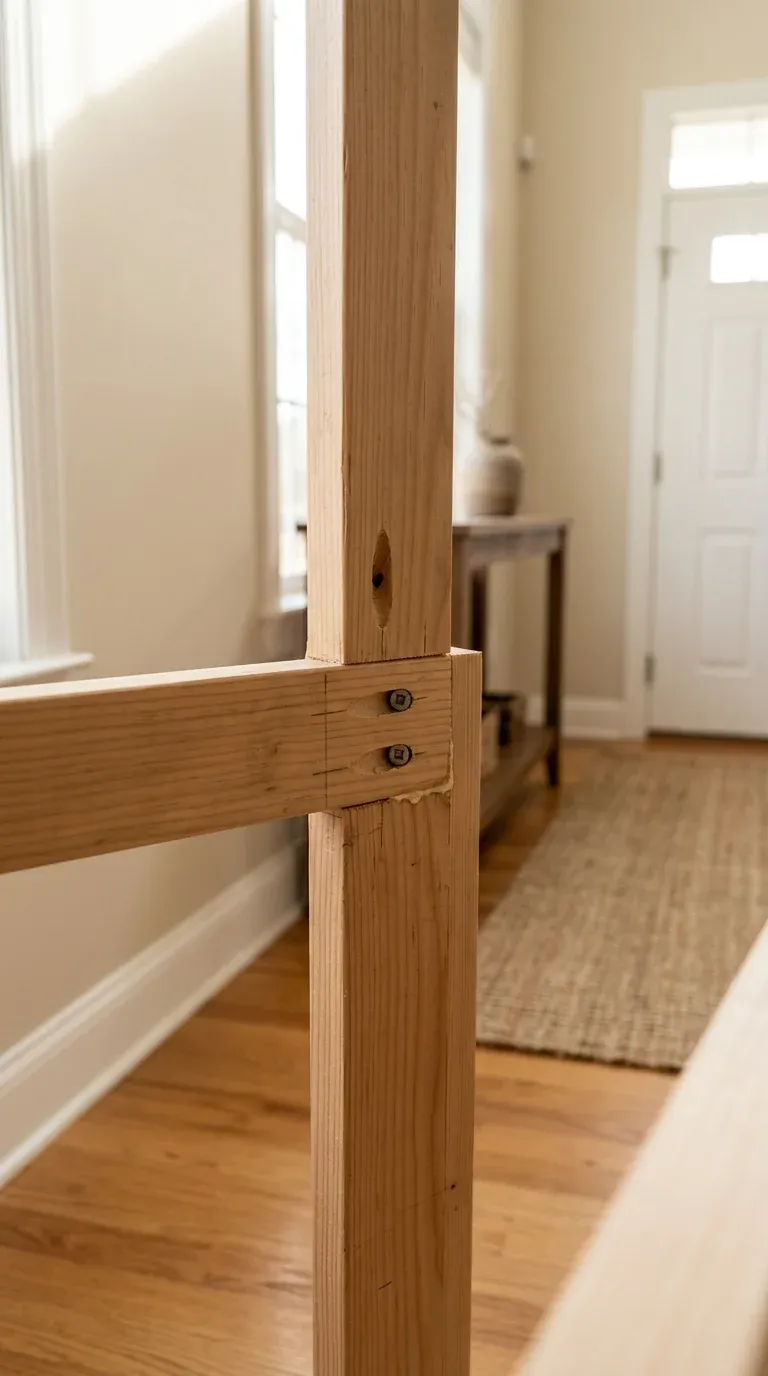
Step 2: Drill the pocket holes. Set the jig for 3/4” material and drill on the bottom panel, upper shelf, dividers, and hook rail. Keep holes 2 inches from edges and field holes 6–8 inches apart.
Step 3: Assemble the bench box. Glue and screw the lower divider into the bottom panel, then attach the side panels with the bottom raised 2.5 inches for a toe kick. Clamp while the glue sets — pocket screws are clamps; the glue is the structure.
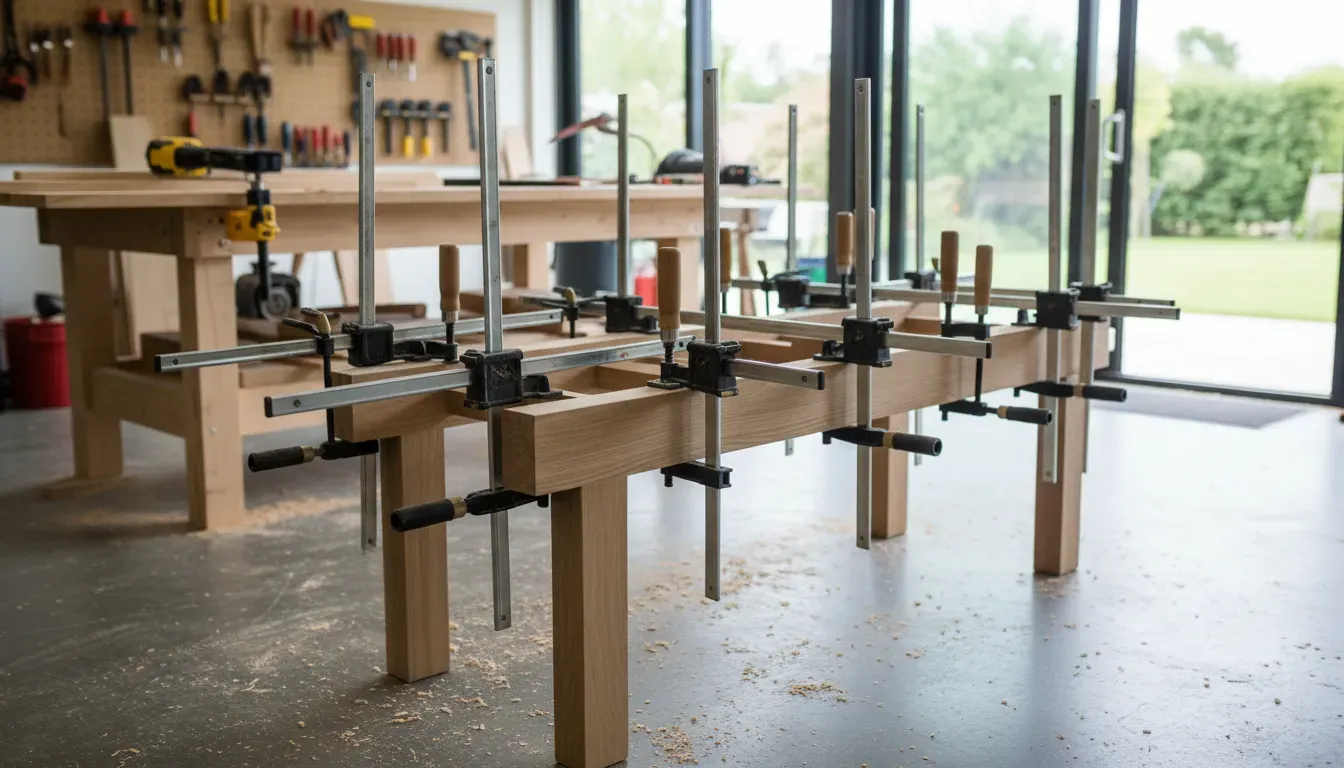
Step 4: Glue up the seat. Two glued 3/4” layers make a 1.5-inch top that shrugs off 300-pound drop loads — the single biggest upgrade over kit furniture’s hollow 0.5-inch seat. Set it with a 1-inch front overhang and screw up through the frame.
Step 5: Frame and back the tower. Stand the side panels, add the upper shelf and divider, then square-check by measuring diagonals (they must match within 1/16”). Glue and screw on the 1/4” back panel with screws every 6 inches — that panel stops lateral sway and makes the unit rock-solid.
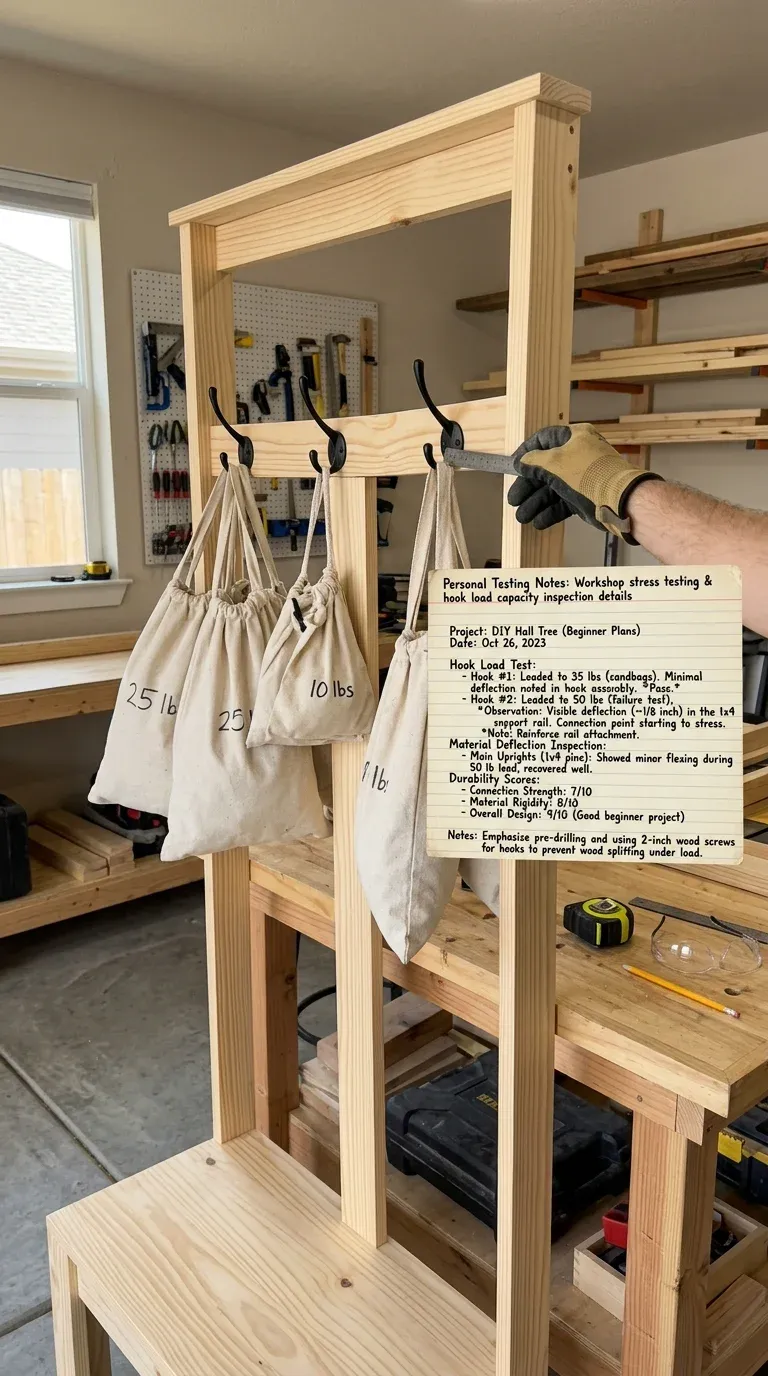
Step 6: Trim it out. 1x2 poplar face frames hide the plywood edges; the 1x3 crown tops the unit. Miter corners at 45 degrees for the pro look, or butt-joint for an easier afternoon. Fill every hole before sanding.
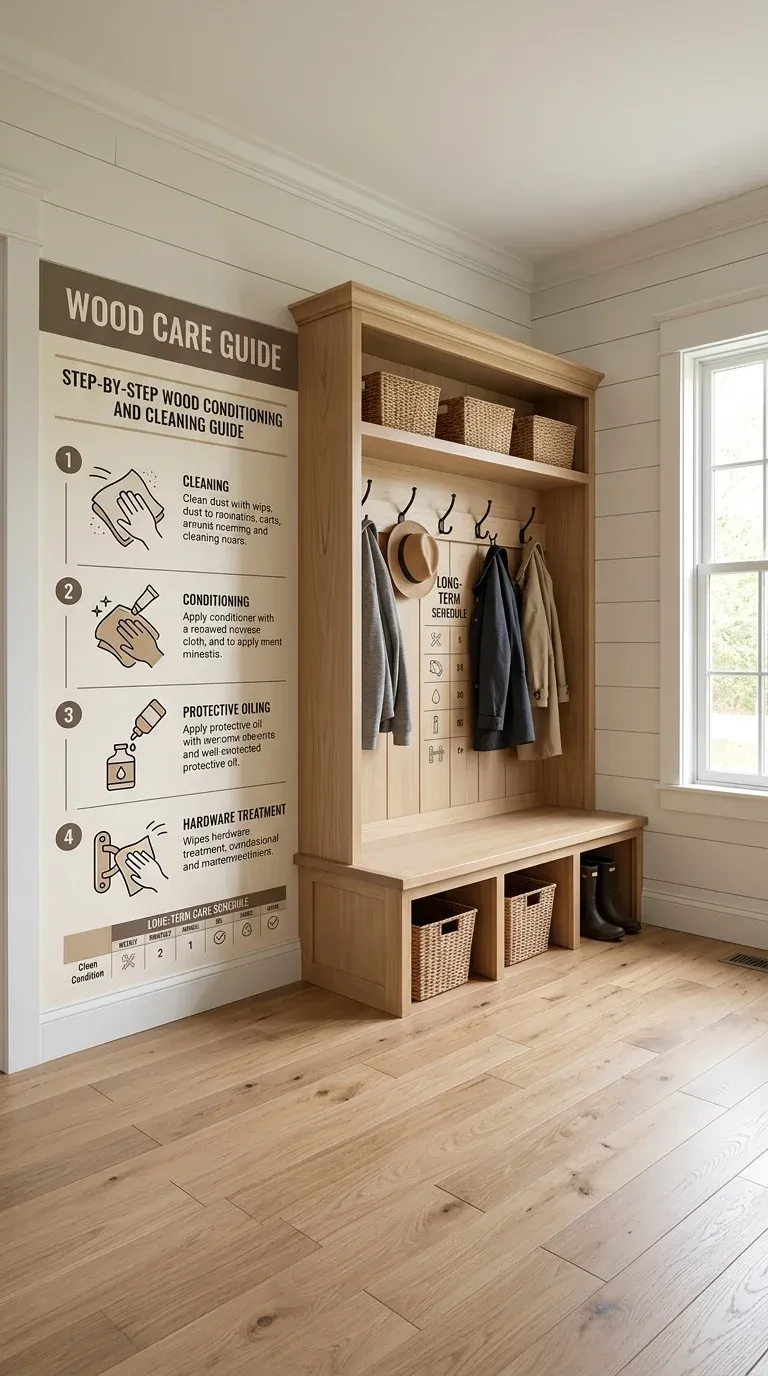
Step 7: Mount the hook rail and hooks. Screw the poplar rail across the back at 50–56 inches for adults (a second row at 42 inches if you have kids), and mount the cast iron hooks into the rail — never into the plywood face alone.
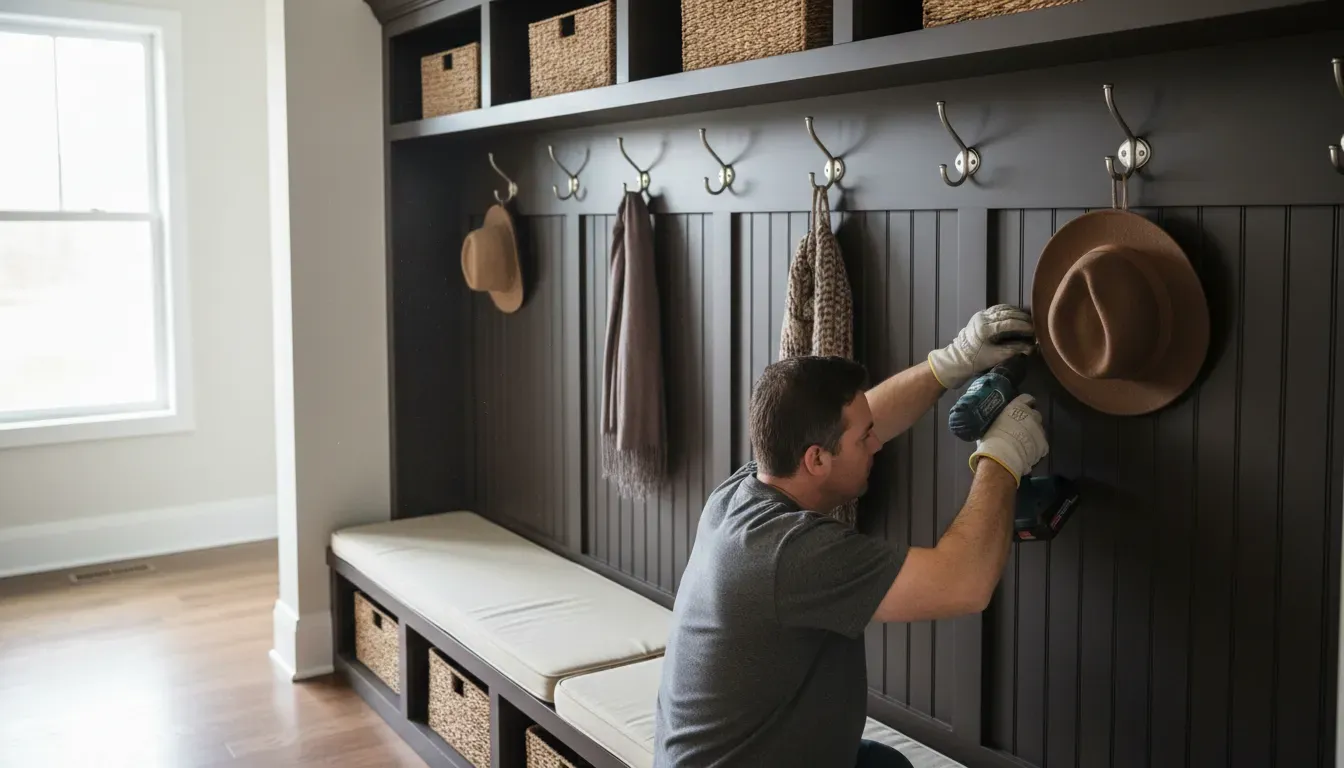
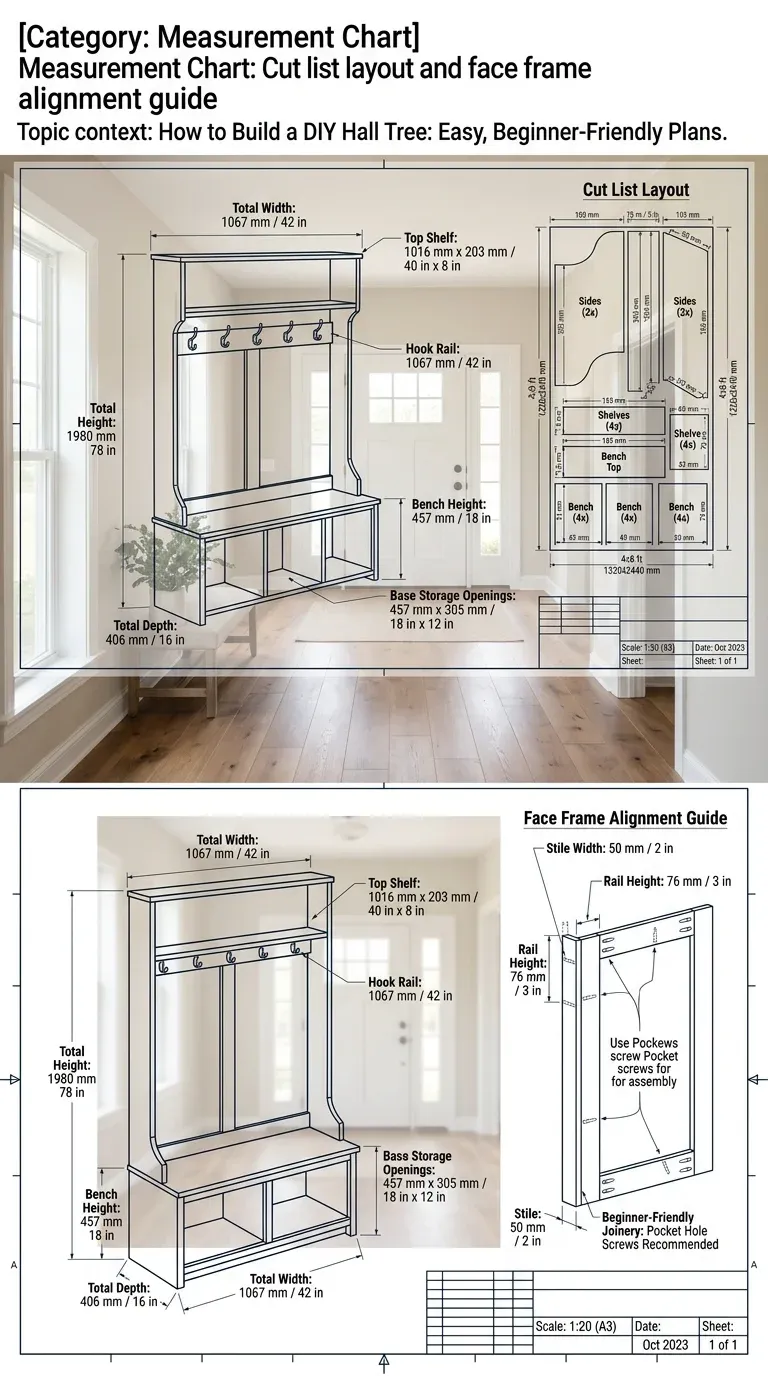
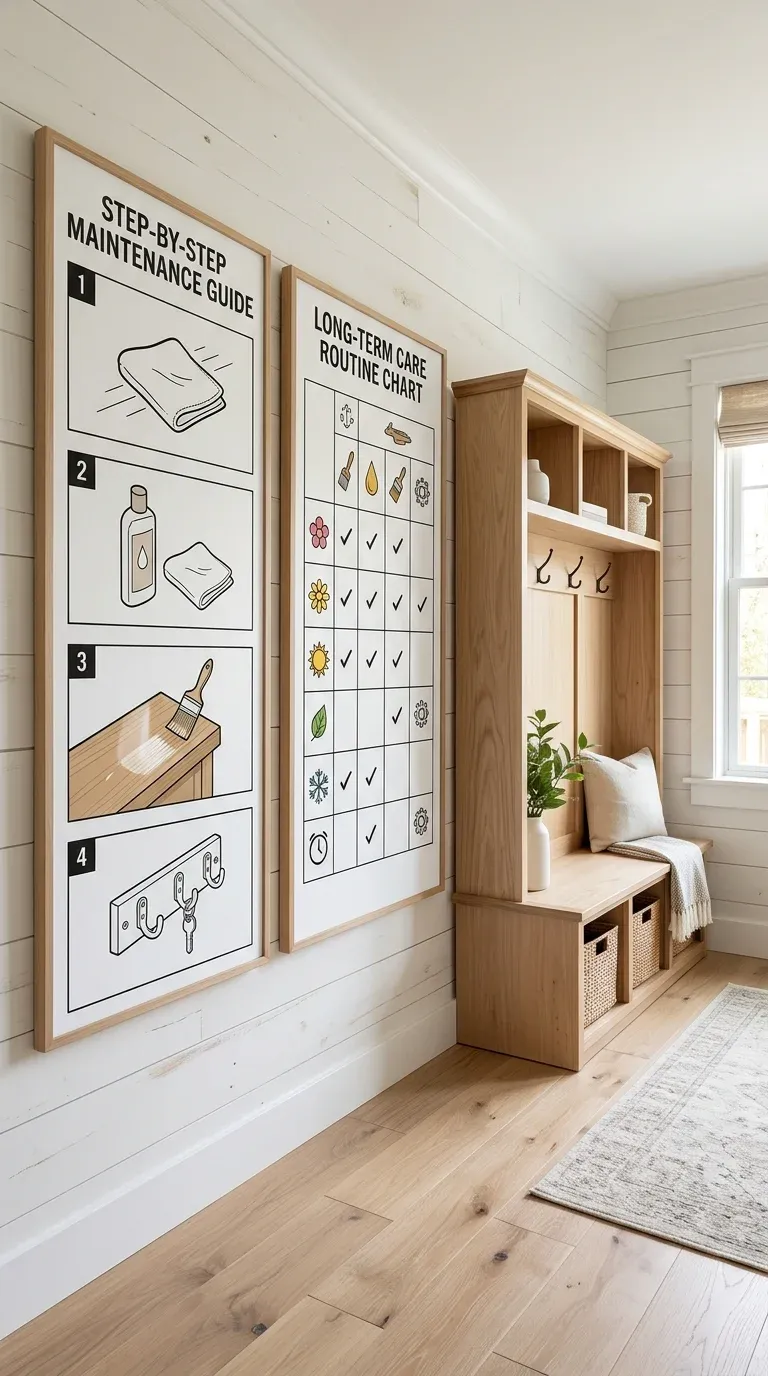
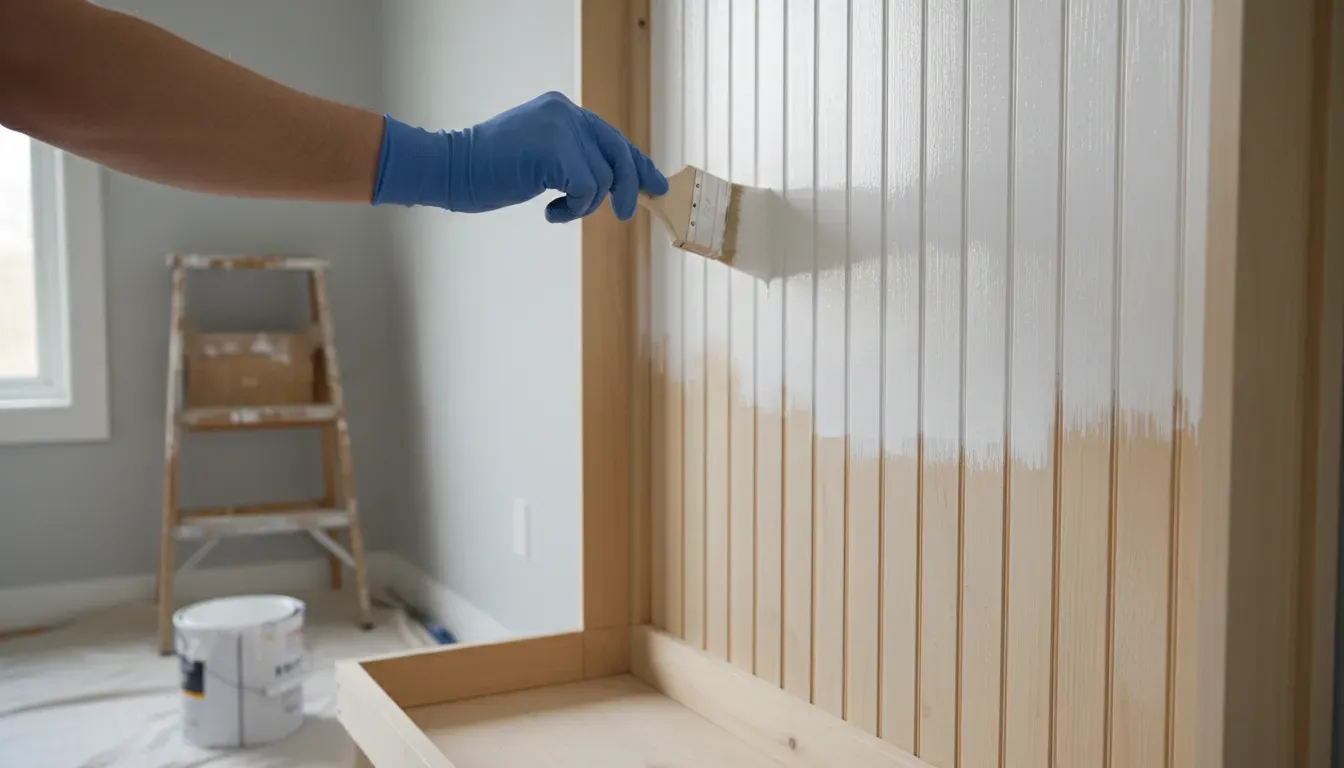
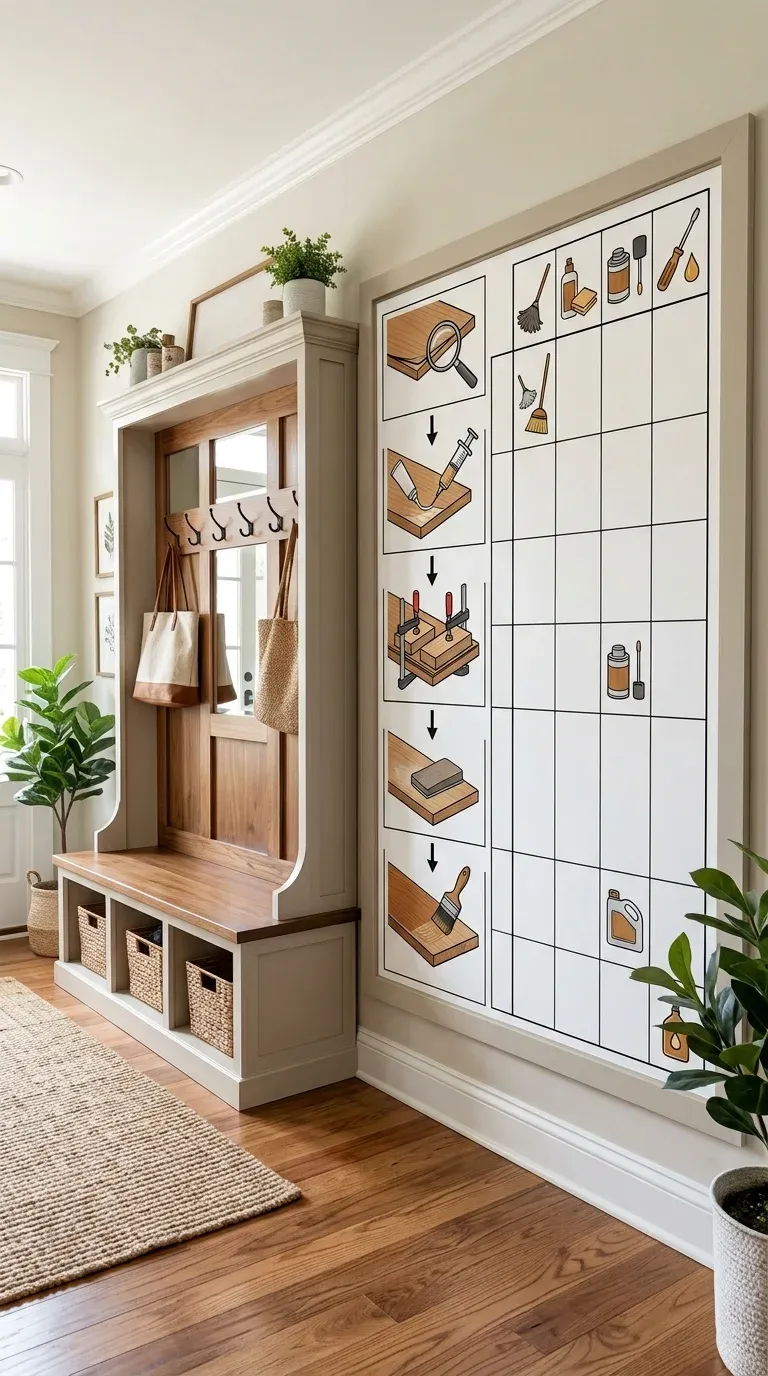
Step 8: Sand and finish. Hand-sand at 220 grit, ease the sharp corners, and vacuum. Water-based satin poly: three coats on verticals, five on the bench top and shoe shelves — they earn the extra layers. Recoat every 2 hours and sand lightly between coats two and three.
Step 9: Anchor and level. The most important step, and the one kitted instructions bury on page 23: this is a tall, front-heavy piece — it gets anchored to studs. Level the base with adjustable feet or composite shims, then drive 3-inch cabinet screws through the upper rail into two studs; full hardware detail is in our how to anchor a hall tree safely guide.
Step 10: Load-test it. Sit on the seat — hard. Rock it. Hang the three heaviest coats in the house. Re-tighten anything that moved; if it wobbles, the wobbly hall tree guide shows the exact repair. Then load the baskets and call it done.
How to Build a Mudroom Bench Section (the bench sub-build)
The bench is the piece people underestimate, so build it like its own project inside the bigger one.
Sidebar — the “how to build a mudroom” shortcut: a mudroom is benches, hooks, and cubbies, sized to the family. So how to build a mudroom is really how to build this bench section, repeated — build it once, build it well, and you’ve done the hard part.
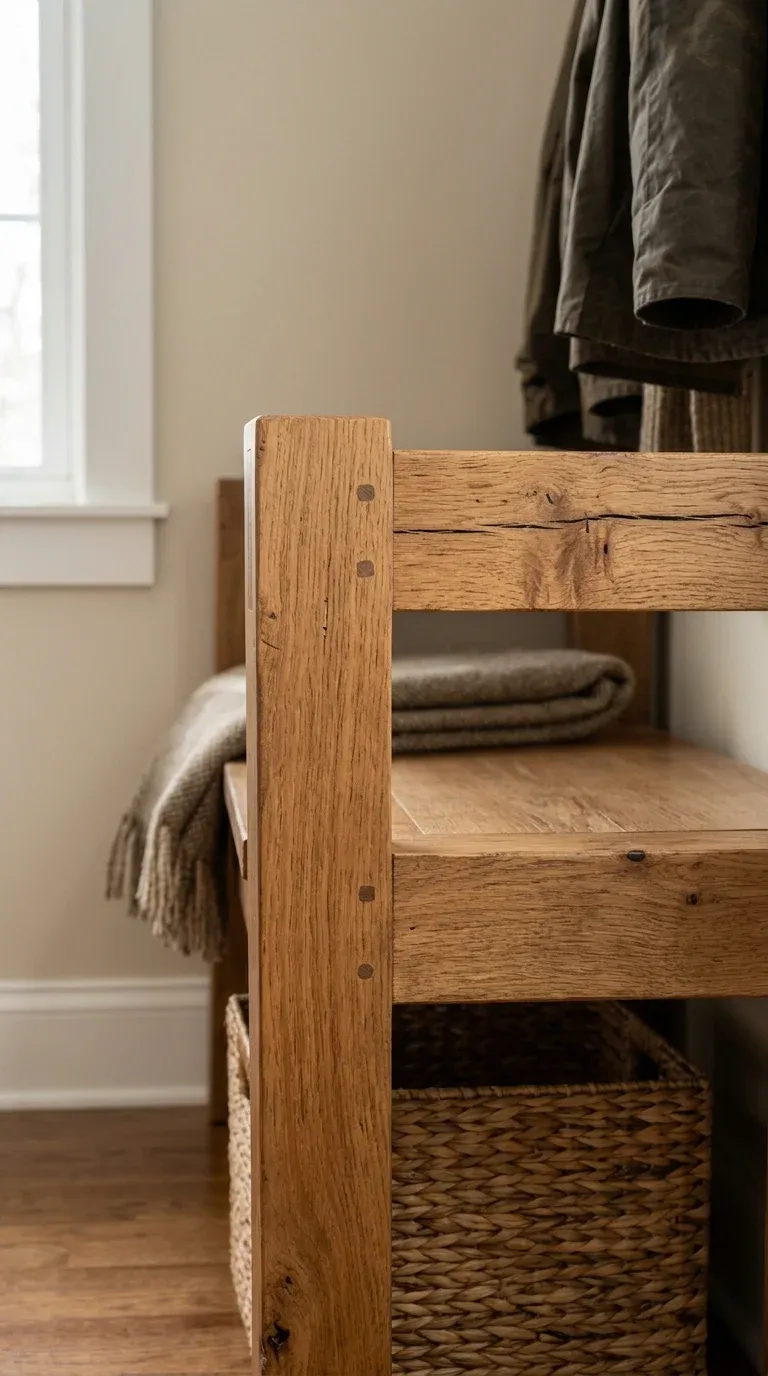
The sub-build: assemble the box (Step 3), seat the double-thick top (Step 4), then add slatted shelves instead of a solid bottom — rip 3/4” poplar into 2-inch slats with a 3/8” gap so damp boots dry instead of rotting the shelf. Finish with the toe kick, and top the under-seat zone with drop baskets for the daily gear pile.
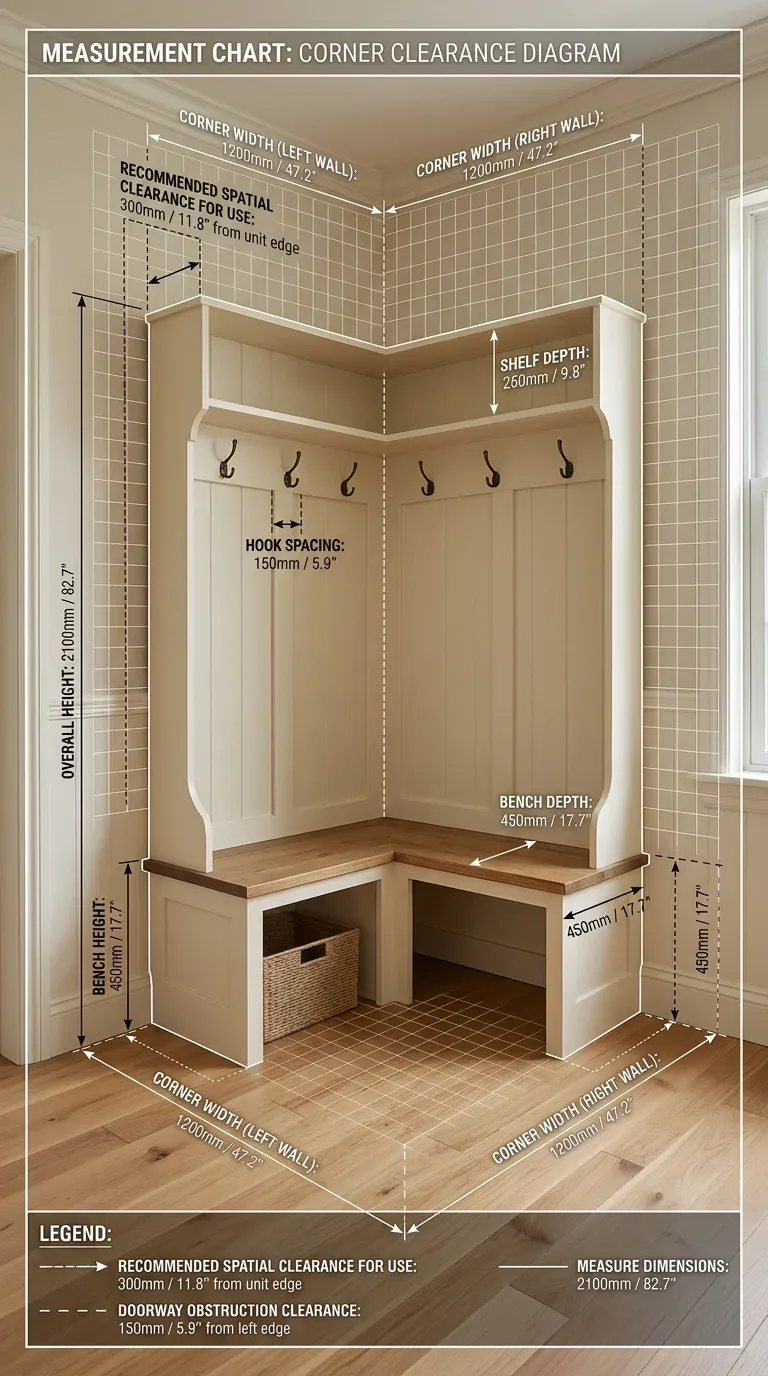
Bench Section Details: 16–18” seat, 18” deep
The seat numbers, so you don’t guess: 16–18 inches wide (the double-thick 1.5” top), 18 inches deep, 18 inches off the floor — the same standard furniture makers use, and the reason this bench isn’t a step stool. A 2.5-inch toe kick keeps boots and vacuums clear; the slats keep the cubby ventilated.
| Bench spec | Measurement | Why |
|---|---|---|
| Seat height | 18 inches | Adult feet flat, knees at 90 degrees |
| Seat depth | 16–18 inches | Sit-able without choking the walkway |
| Seat build | 1.5” (2 x 3/4” glued) | Holds 450 lbs static, shrugs off drops |
| Slat gap | 3/8 inch | Airflow dries damp boots fast |
| Toe kick | 2.5 inches | Protects base from kicks and wet shoes |
| Under-seat clearance | 14 inches | Fits boot trays and baskets |
Finishing & Mounting (anchoring the tall pieces)
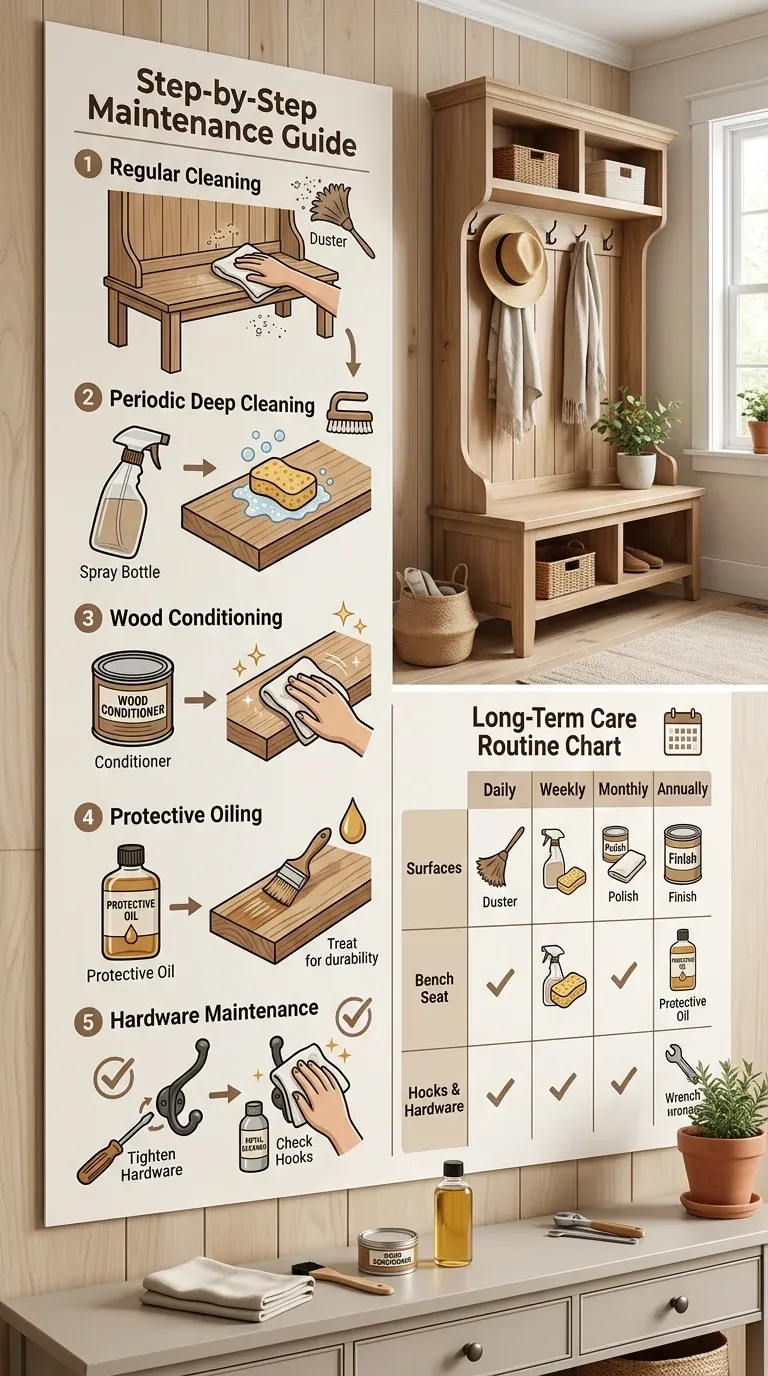
Finishing order: three coats of water-based satin poly everywhere, five on the bench top and shelves — and the step everyone skips, two coats on every edge, including the seat’s underside. Edges are where moisture gets in; sealing them is the difference between a 15-year hall tree and a 3-year wobble.
Then mounting. Two jobs, both compulsory:
- Level it. Adjustable feet or composite shims until the seat reads level both ways — a leaning tower is a tipping tower.
- Anchor it to studs. Find two studs behind the upper rail, pre-drill, and drive 3-inch cabinet screws with washers — or 1/4” toggle bolts if studs won’t line up. Never plastic drywall anchors; they pull straight out under load. Our anchor-hall-tree-safely guide has the full hardware breakdown.
Shop-Built vs. Kitted: The Honest Comparison
I build, but I also sell the honest trade-off, because some families need furniture this weekend, not in two weekends.
| Shop-built (this plan) | Flat-pack kit | |
|---|---|---|
| Cost | ~$250 materials | $120–400 |
| Build time | 2 weekends | 1–3 hours |
| Seat strength | 1.5” glued ply, 450 lbs | 0.5” hollow panel, 150–250 lbs |
| Shelf material | Slatted, ventilated | Often solid MDF |
| Hardware | Your choice, cast iron | Whatever’s in the box |
| Fit | Built to your hallway | Standard sizes only |
| Lifespan | 15+ years | 3–7 years |
| Cold sweat factor | Cutting 4x8 sheets | Nothing |
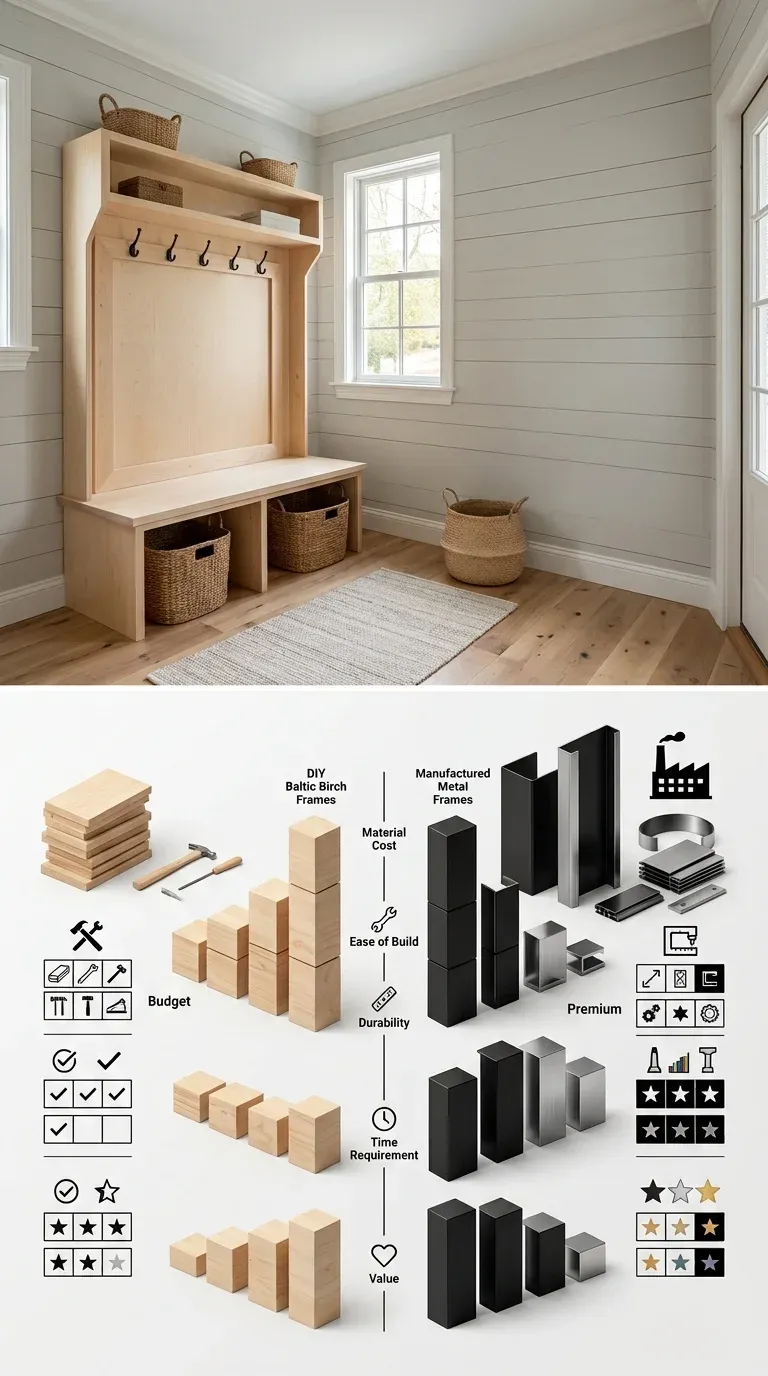
The kit wins on day one and loses by year five; shop-built wins everywhere after that. Schedule says kit? Pick from our vetted best hall trees list and anchor it to studs the same evening. Schedule says build? Follow the plans, keep the glue wet, and you’ll have the sturdiest thing in your entryway, built by exactly the right person.
The two questions everyone asks before starting
Is this really beginner-friendly? Yes — circular saw, drill, pocket hole jig, no table saw. If you can cut a straight line with a clamped guide, you can build this; the joinery is glue and screws.
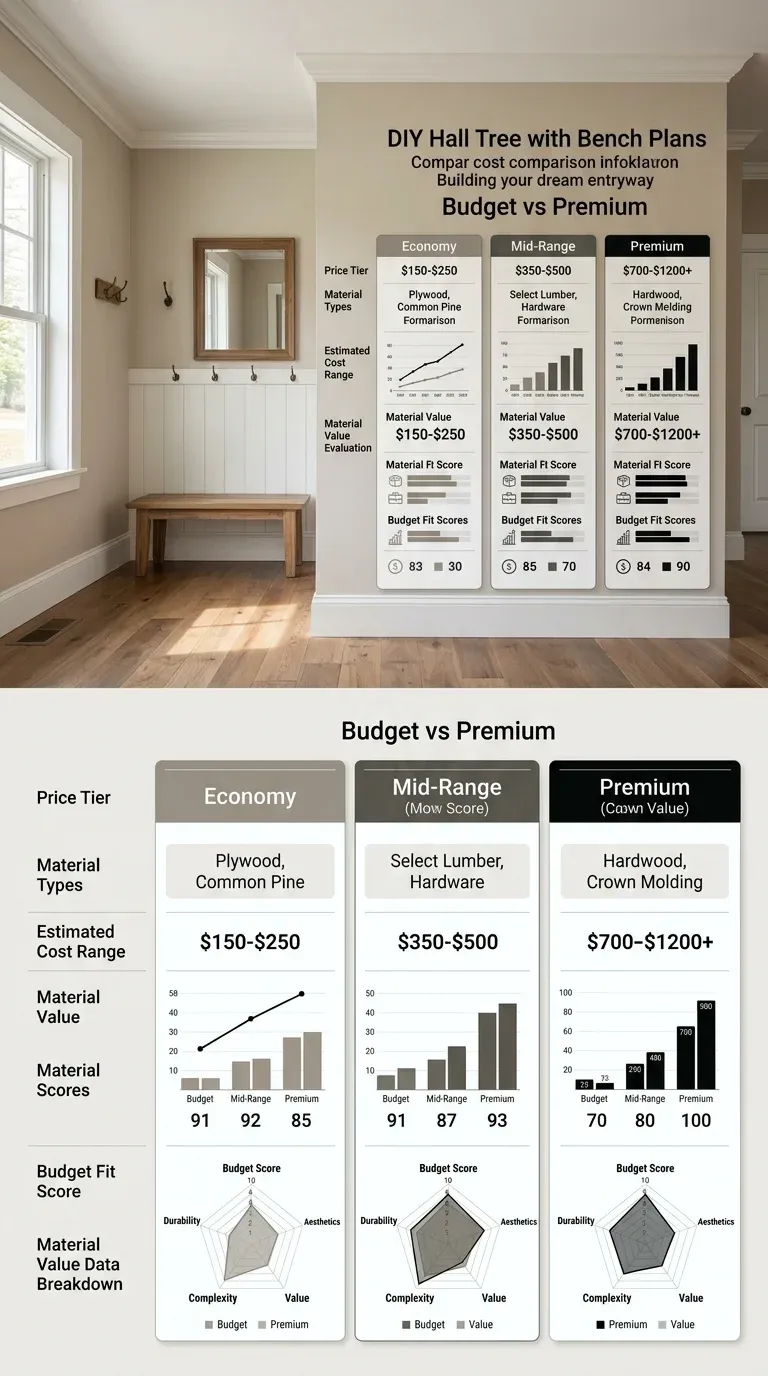
How much does it cost to build a hall tree? Around 130 in pine and paint, either way less than a comparable store unit.
After two weekends: a hall tree that fits your wall exactly, holds the family’s gear without creaking, and gets handed down instead of replaced. Cut once, swear never — that’s the plan.
Top Picks: Best Entryway Benches
Editor's shortlist with verified ratings. Prices and availability below — clicking an Amazon link earns us a small commission at no extra cost to you.
| # | Product | Rating | Reviews | Tag | Check Price |
|---|---|---|---|---|---|
| 1 | Vasagle Industrial Entryway Bench | 8,420 | Top Pick | Check Price | |
| 2 | Simplihome Artisan Solid Wood Bench | 3,127 | Best Solid Wood | Check Price | |
| 3 | Crosley Furniture Seaside Hall Tree | 5,410 | — | Check Price | |
| 4 | Prepac Shoe Storage Bench | 2,980 | Best Budget | Check Price | |
| 5 | Walker Edison Modern Farmhouse Bench | 1,765 | — | Check Price |
Affiliate disclosure: As an Amazon Associate we earn from qualifying purchases.
Tag: smartlyhomme-20 — change in src/data/topPicks.ts.