
Diy Mudroom Lockers: 7 Builds With Real Plans (and One That's Beginner-proof)
DIY mudroom lockers, built from real plans: 7 builds ranked by beginner-friendliness, a step-by-step core box, cut lists, bench combos, and aisle math.
Mar 9, 2026 · Linda Wise
15 min readDIY mudroom lockers are the highest-satisfaction build in the house — but the plans decide everything, and most free plans are secretly ‘buy our materials list’.
I’ve built lockers for my own door and walked through dozens of builds with clients, and the pattern is always the same: the project succeeds or fails in the plan, not the carpentry. A mudroom locker is nothing more than boxes, a bench, and some hooks — but the boxes have to be square, the bench has to fit the aisle, and the whole thing has to be anchored like it’s holding the family’s winter. This guide ranks seven solid builds by beginner-friendliness, walks the core box step by step, and tells you exactly what a real plan includes — so you never show up at the lumber yard guessing.
7 DIY Mudroom Locker Builds (ranked by beginner-friendliness)
1. The Beginner-Proof Prefab Frame-Out
Difficulty: beginner. Buy flat-pack cabinets (kitchen pantry units, an IKEA PAX or HAVSTA system, or two utility cabinets), then spend your effort on the frame-out: a 2x4 plinth base, solid-wood face frames to fill the gaps between units, and a fascia up to the ceiling. The prefab boxes do the structural work; your trim makes them look custom. This is the build I recommend to anyone who has never cut a cabinet joint.
2. The Freestanding Bench + Cubby Bank
Difficulty: beginner. Simple open boxes in 3/4-inch birch plywood, assembled with pocket screws, sitting on legs with one anti-tip bracket at the top. No wall surgery, no scribing, fully reversible — the renter’s locker. Spend your budget on edge banding and good paint, because this one lives on looks.
3. The Shallow Board-and-Batten Hallway Build
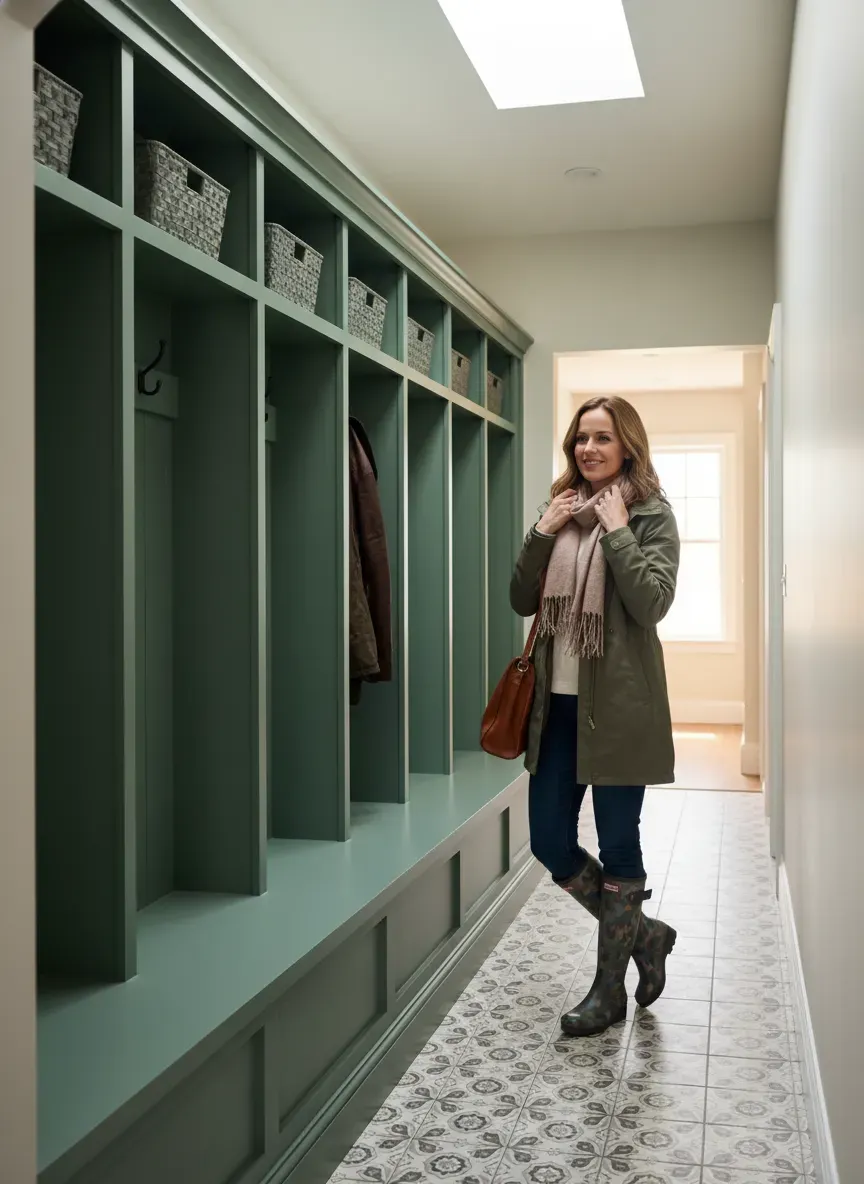
Difficulty: intermediate. For the 36-inch hallway that isn’t really a mudroom: vertical 1x3 boards, a header, and a 12- to 14-inch-deep bench in a monochromatic drench of paint. It creates the illusion of lockers without eating the corridor. The best solution when the footprint is the problem.
4. The Core-Box Locker Bank
Difficulty: intermediate. This is the classic built-in: a run of 16-inch cubbies with face frames, bench below, hooks above, anchored to the studs. It’s the build detailed step by step in the next section. Budget a weekend plus a day for finish — the face frames and painting take as long as the boxes.
5. The Corner Carousel
Difficulty: advanced. A 45-degree pentagonal corner unit with a lazy Susan in the bench and a tall bay for skis and hockey sticks. It solves the corner blind spot that eats shoes — but every miter must be dead-on, and a one-degree error compounds across the face frame. Not a first project.
6. The Hidden-Door Minimalist
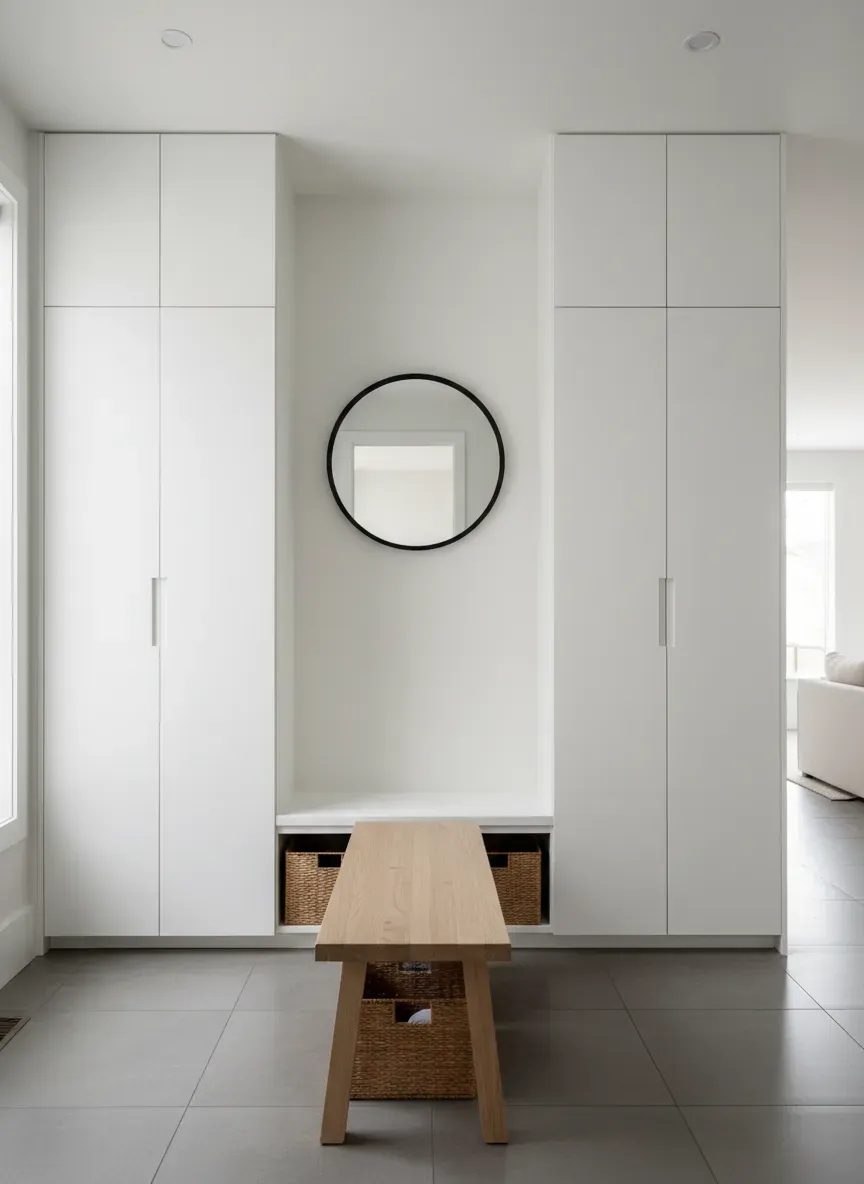
Difficulty: advanced. Open cubbies become full-height closed lockers with inset doors and push-to-open latches. Inset doors need European hinges with three-way adjustability and millimeter-precise reveals. The result is a seamless wall of paneling — but the hardware engineering is real.
7. The Grand Floor-to-Ceiling Built-In
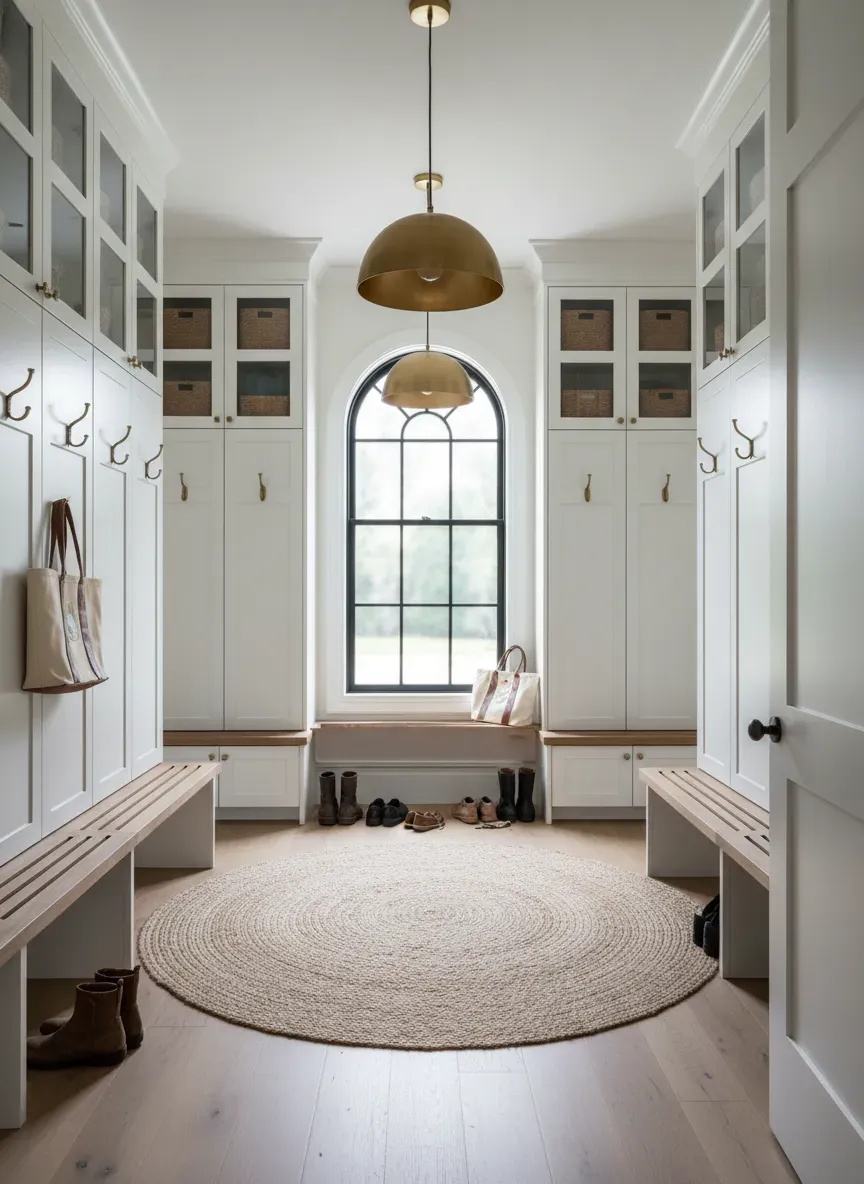
Difficulty: advanced. Flanking closed-door towers around a six-foot solid oak bench with hardwired brass sconces, tongue-and-groove paneling, the whole room. Stunning, and it’s a full construction project. This is the build for a confident DIYer with a real workshop.
How to Build Lockers for a Mudroom: The Core Box (step-by-step)
The core box is the DNA of every mudroom locker: a 16-inch-wide compartment, 12 to 18 inches deep, that holds one person’s coats, bags, and shoes. Build one, and you can build ten.
- Measure and mark the wall. Map the studs with a magnetic finder and mark them on the floor. Your locker run’s width is set by the wall, not the plan — lay out the modules so the boxes land on studs.
- Cut the box parts to plan. 3/4-inch birch plywood: two side panels, top, bottom, and a shelf or two per module. Edge-band all exposed cuts before assembly — it’s the difference between furniture and a crate.
- Assemble with glue and pocket screws. Drill pocket holes in the side panels, glue the joints, clamp, and drive the screws. Check every corner with a square before the glue sets.
- Build the face frame separately. 1x3 or 1x4 solid wood, assembled flat on the floor, then attached to the box fronts. The face frame hides the plywood edge and gives doors something flush to seat against.
- Set the bench. 18 inches high and 16 to 18 inches deep; screw it to the box structure so it can’t slide. The bench is a seat, not a shelf.
- Hang the run before loading it. Lift it into place, level it, and screw through the back panels into the studs you marked in step one — every 24 inches, top and bottom.
- Add hooks and hang rods. 60 inches up, centered over each cubby; heavy-duty rubber-coated hooks for wet jackets.
- Paint last, in the room. Fill, caulk, prime, two coats of waterborne alkyd enamel. Painting in place lets the caulked seams move with the house.
Mudroom Locker Plans: What Good Plans Include (cut lists, hardware, anchoring)
Most free mudroom locker plans are mood boards with measurements. A real plan earns the name by including five things:
- A full cut list. Every sheet of plywood and every board foot of face-frame lumber, with yield — how many parts come out of each 4x8 sheet. If the plan doesn’t tell you how many sheets to buy, it hasn’t been built.
- Hardware counts and sizes. Hinge count per door, hinge cup-boring depth, screw sizes for every joint, pocket screw length for 3/4-inch material. A plan that doesn’t list hinge count and screw size isn’t a plan; it’s a suggestion.
- An anchoring pattern. Exactly where the boxes meet studs, and what fastener goes where. This matters for cabinets that will hold wet coats and be pulled on by children.
- A finish schedule. Primer type, paint type, edge banding width, and where the caulk goes — corners and seams only, never wood filler in a moving joint.
- Clearance callouts. Bench height, cubby depth, aisle width, and hook height, with the reasoning, so you can adapt to your wall without breaking the design.
Two written plans worth starting from: the manufacturer’s assembly drawings of the flat-pack unit you plan to frame out in Build 1, and any locker layout guide that gives you real numbers to sanity-check.
And when you’re deciding between a full locker run and a simpler hall tree, our hall tree vs. mudroom lockers comparison lays out the cost and labor honestly and helps you pick the footprint that fits your door before you buy lumber.
Bench + Locker Combo Builds
The combo is the mudroom’s all-star — bench, cubbies, hooks, and shoe storage in one structure — and the layout logic is simple:
- Bench at 18 inches high, 16 to 18 inches deep. Any deeper and the aisle pays for it.
- Cubbies above the bench, starting around 56 to 60 inches up, 16 inches wide, with hooks on the back panel for light bags.
- Shoe space below the bench, either open to the floor with a boot tray, or a row of closed cubbies behind doors. Open below reads airier; closed below hides everything.
- One cubby per person, labeled or color-zoned, so the system survives everyone’s worst Tuesday morning.
The combo concentrates all the mudroom functions in one footprint, which makes it the right answer for every entryway too small for separate structures — which is to say, most of them.
Aisle Math: 16-inch cubbies need 18-inch planning
Here’s the planning rule every locker plan gets wrong: allocate 18 inches for every 16-inch cubby. The extra 2 inches absorb the face frame, the half-inch reveal around each door, and the wiggle room a crooked wall demands. Plan the whole run at 18 inches per module, and your last box will still land on a stud.
Then do the aisle: 36 inches of clear walking space in front of the lockers is the minimum that lets two people pass without turning sideways. Bench depth of 16 to 18 inches plus a 36-inch aisle means your room needs roughly 54 inches from the back wall to the opposite obstruction. If you’ve got less, drop to a 12- to 14-inch bench and open cubbies — see Build 3.
And the door swing: if the front door opens into the locker run, measure the swing arc before anchoring anything. No locker is worth a door that stops at 45 degrees.
Get the aisle math right once, on paper, and every later decision — bench depth, cubby width, door style — becomes easy. That’s the whole secret of this build: the planning is the carpentry.
— Linda Wise, professional home organizer and residential storage designer
Top Picks: Best Mudroom Storage
Editor's shortlist with verified ratings. Prices and availability below — clicking an Amazon link earns us a small commission at no extra cost to you.
| # | Product | Rating | Reviews | Tag | Check Price |
|---|---|---|---|---|---|
| 1 | Prepac Mudroom Cubbie Locker | 1,980 | Top Pick | Check Price | |
| 2 | HOOBRO Hall Tree with Bench | 2,230 | — | Check Price | |
| 3 | Crosley Furniture Seaside Hall Tree | 5,410 | Best Storage | Check Price | |
| 4 | Alaterre Asheville Mudroom Storage | 612 | — | Check Price | |
| 5 | Yaheetech 4-in-1 Mudroom Locker | 1,455 | Best Value | Check Price |
Affiliate disclosure: As an Amazon Associate we earn from qualifying purchases.
Tag: smartlyhomme-20 — change in src/data/topPicks.ts.