The Ultimate Guide to Maintaining Wood Furniture in High-Traffic Zones
Discover expert strategies for preserving wood furniture in busy households. Learn about Janka hardness, humidity control, and repair techniques that actually work.

Mar 1, 2026 - Written by: Linda Wise

There is a specific kind of heartbreak reserved for the moment you hear the screech of a toy car dragging across a pristine mahogany console table. If you love wood furniture—real, solid timber with grain that tells a story—you understand the tension between wanting a beautiful home and actually living in it.
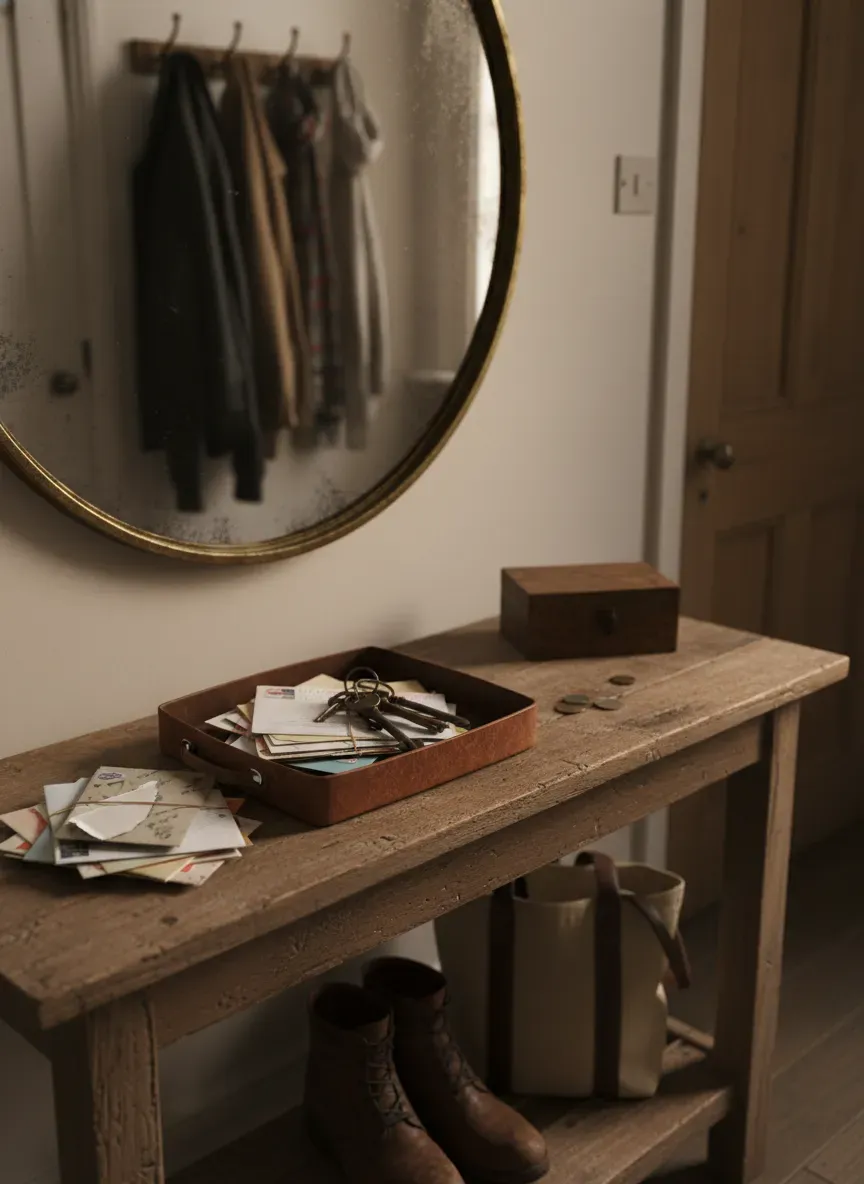
High-traffic zones like entryways, mudrooms, and main hallways are the enemy of fine finishes. They are where wet raincoats get tossed, where keys land with a heavy thud, and where grit from the sidewalk acts like microscopic sandpaper underfoot and under-hand.
I’ve spent years restoring vintage pieces that lived hard lives in busy foyers. The difference between a piece that ages with grace (developing that coveted patina) and one that looks trashed comes down to a few distinct habits. It isn’t just about cleaning; it’s about understanding the physics of wood, the chemistry of finishes, and the psychology of how your family interacts with the space.
The Physics of Wear: Understanding Your Wood
Before you grab a rag, you need to know what you’re up against. Not all wood is created equal, and placing a soft wood in a high-traffic zone is a tactical error.
We measure wood density using the Janka Hardness Scale. If your entryway bench is made of Pine (Janka score around 380-400), it’s going to dent if you look at it wrong. Compare that to White Oak (1360) or Hickory (1820). If you are currently shopping, buy for hardness. If you already own the furniture, you need to adjust your maintenance strategy based on the species.
The Hygroscopic Nature of Timber
Wood never really dies. It remains hygroscopic, meaning it constantly exchanges moisture with the air. In a high-traffic zone near a door, humidity fluctuates wildly. You open the door: cold, dry air rushes in. You close it: the heater blasts warm, dry air. Then it rains, and humidity spikes.
This expansion and contraction cracks joints and crazes finishes.
Pro Tip: Keep your entryway furniture at least two feet away from direct heat sources like radiators. If that’s impossible, install a deflector. The heat cycle is the silent killer of antique joinery.
The Daily Grind: Cleaning Protocols That Don’t Damage
Here is where most well-meaning homeowners destroy their furniture. You’ve likely been sold a lie by marketing campaigns pushing silicone-based sprays that promise an “instant shine.”
Stop using them.
Silicone sprays create a barrier that prevents the wood from breathing and, worse, makes future refinishing impossible because new lacquer or oil won’t adhere to the silicone contamination.
The Two-Bucket Method
For high-traffic pieces that accumulate actual grime (mud splashes, sticky fingerprints), I rely on a method similar to car detailing but much gentler.
- Bucket One: Warm water with a drop of pH-neutral soap. Dish soap is usually too alkaline. I prefer a specialized wood soap.
- Bucket Two: Clean, distilled water.
- The Cloths: Two high-GSM microfiber cloths.
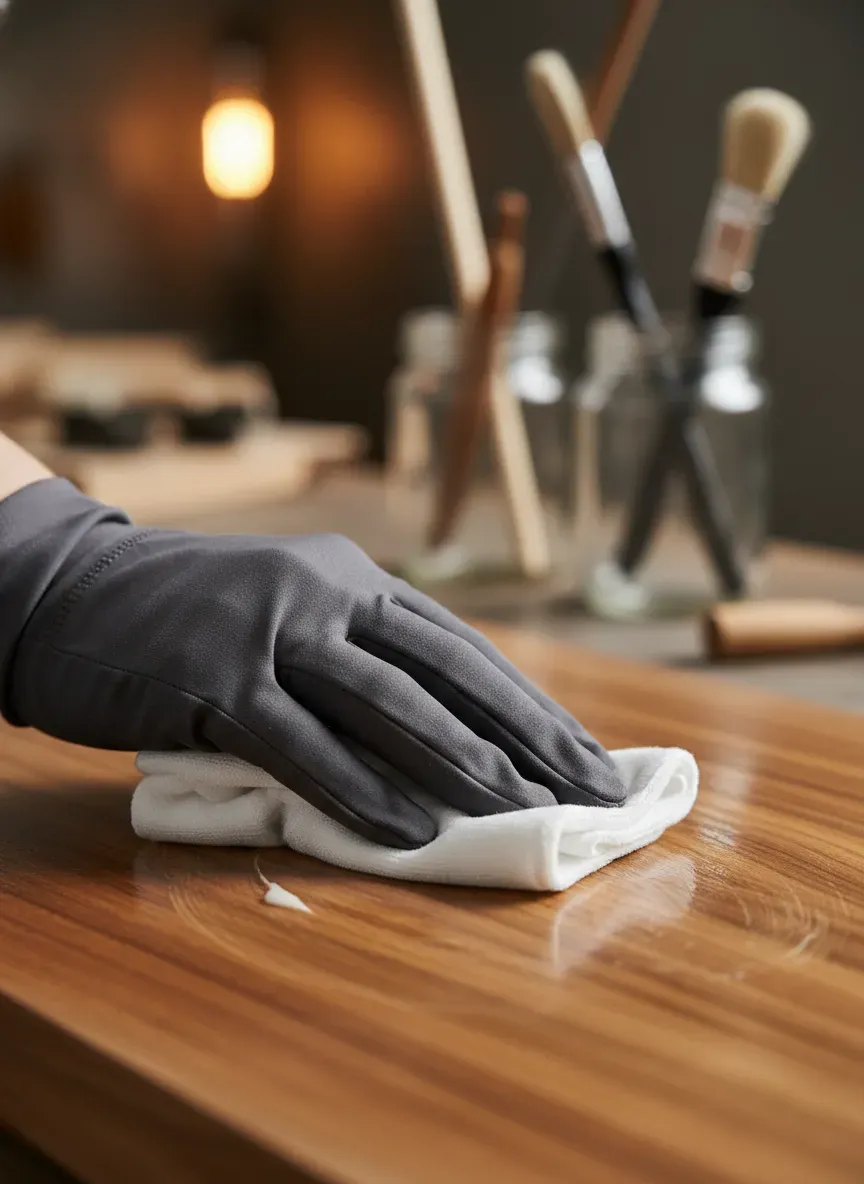
Dip, wring until barely damp, and wipe with the grain. Immediately follow with the dry cloth. You never want water sitting on the surface for more than ten seconds.
If you want the best experience, I highly recommend checking out the Guardsman Clean & Polish For Wood Furniture. It avoids the silicone trap and actually emulsifies the dirt rather than just smearing it around.
The Chemistry of Protection: Oil vs. Film
In high-traffic zones, the finish is your shield. You generally have two categories: Film Finishes (Polyurethane, Lacquer, Varnish) and Penetrating Finishes (Tung Oil, Linseed Oil, Danish Oil).
Film finishes sit on top. They are hard and protect against water, but when they scratch, the white line is visible and hard to fix. Penetrating oils soak in. They offer less water resistance, but—and this is the real kicker—they are incredibly easy to repair.
For a busy hallway console, I actually prefer a penetrating oil finish topped with a high-quality paste wax. Why? Because when your teenager drags a backpack across it, you can simply sand that spot lightly and add more oil.
As we dig deeper into the nuances of preserving timber in busy households, you’ll realize it’s a marathon, not a sprint. The goal isn’t perfection; it’s manageability.
The Wax Barrier
Think of paste wax as a sacrificial layer. It takes the scratches so the finish doesn’t have to. Every six months, apply a thin coat of Carnauba-based wax. It provides a slip surface—objects slide rather than dig in.
For maintaining that luster without the buildup, I swear by Howard Feed-N-Wax Wood Polisher and Conditioner. It contains beeswax and orange oil, keeping the wood hydrated without the gummy residue left by cheaper products.
Strategic Defense: Placement and Accessories
You can scrub and oil all you want, but if your setup is flawed, you’re fighting a losing battle.
The “Landing Strip” Concept
High traffic means things are being dropped. Keys, coins, phones. Wood cannot win against metal. You need a buffer.
- Trays: Never leave a surface naked in a drop zone. Use leather or felt-bottomed trays for keys.
- Runners: A table runner isn’t just decorative; it’s armor.
- Coasters: Obviously. But in an entryway, people don’t look for coasters. Use a large slate or cork mat where people instinctively put things down.
Managing the Micro-Environment
Grit is the enemy. The dirt tracked in from outside acts like sandpaper on your furniture legs and baseboards.
Key Takeaways for Environmental Control:
- Doormats: You need two. One coarse mat outside to scrape, and one absorbent mat inside to trap moisture.
- Shoe Removal: Enforce it. It saves your floors and the legs of your furniture from accidental kicks.
- Sunblock: UV rays bleach wood and degrade finishes. If your high-traffic zone gets direct sun, sheer curtains or UV window film are mandatory.
Triage: Repairing Common Injuries
Despite your best efforts, damage will happen. Here is how to handle the trauma without calling a professional restorator.
The White Ring (Heat/Moisture)
We’ve all seen it. A hot pizza box or a wet glass leaves a milky white ring. This means moisture is trapped inside the finish.
The Fix: You need to draw the moisture out.
- The Iron Method: Place a dry cotton towel over the spot. Set your iron to “no steam” and medium heat. Iron the towel gently for a few seconds. Check. Repeat. The heat evaporates the trapped moisture.
- The Mayo Trick: It sounds insane, but slathering full-fat mayonnaise on the ring and leaving it overnight often works. The oil displaces the moisture.
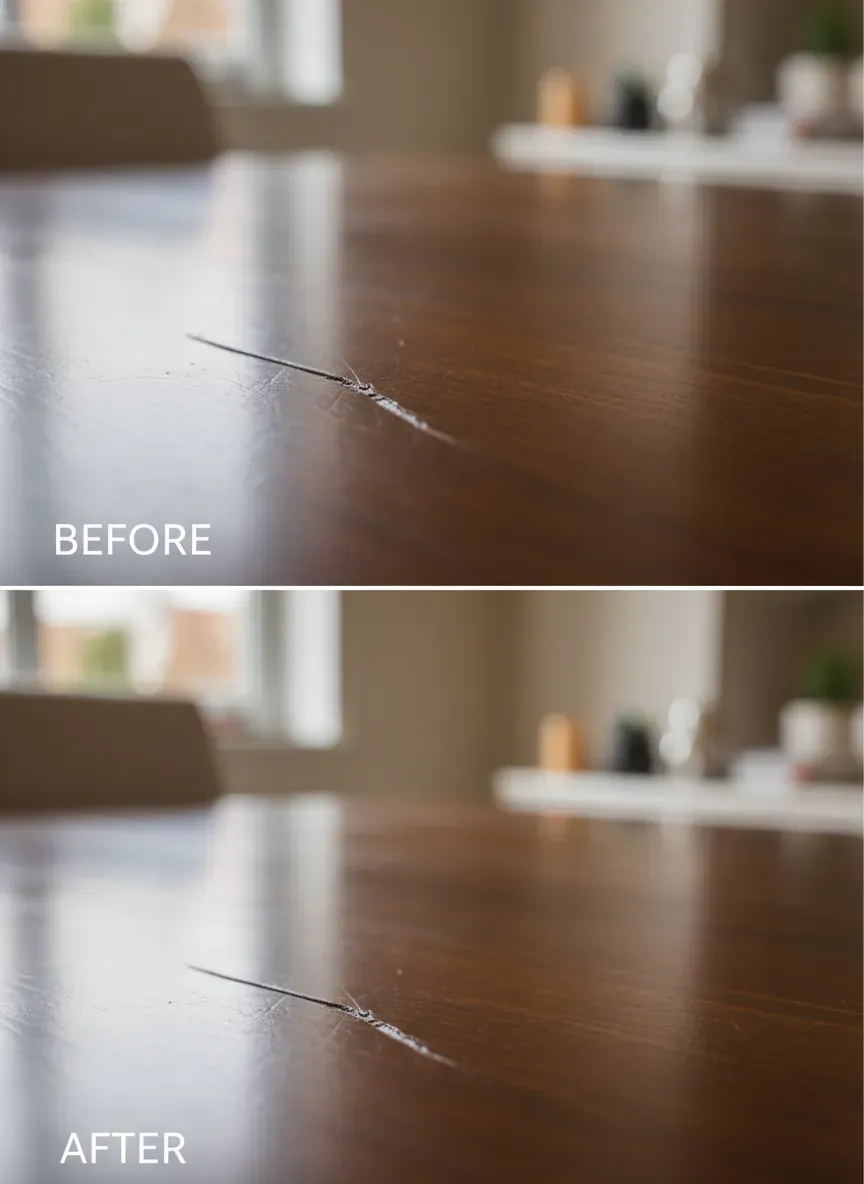
The Deep Scratch
If you can feel the scratch with your fingernail, it’s through the finish.
The Fix:
- Walnuts: For dark woods, rubbing a raw walnut meat over the scratch can deposit enough oil to darken the raw wood, hiding the flaw.
- Wax Sticks: These look like crayons. You rub them into the gouge and buff off the excess.
- Retouch Markers: Be careful here. Always go a shade lighter than you think you need. You can add color, but you can’t take it away.
If you have toddlers using your coffee table as a drum set, you might want to look into strategies for safeguarding benches from little ones. Sometimes, prevention requires padding rather than polishing.
Ink and Dark Stains
These are nightmares. If ink penetrates the finish, you usually have to strip the piece. However, before you panic, try a distinct solvent approach. Dampen a cloth with mineral spirits. If the finish softens, stop. If not, wipe gently. Sometimes the ink is sitting on a layer of wax and grime, not the wood itself.
When Wood Isn’t Enough: Knowing When to Pivot
I love wood. But I am also a realist. There are specific scenarios where wood is simply the wrong material for the job.
If you live in a climate with extreme humidity swings (like a lakeside cabin) or have three large dogs that drool and scratch, a high-gloss mahogany bench is a recipe for madness.
Sometimes, the traffic is just too high for soft pine. In those cases, you might consider swapping to metal locker alternatives for a rugged aesthetic. Metal offers a durability that wood simply cannot match in “combat zones” like a back mudroom.
However, if you are committed to wood, look for “distressed” finishes. Manufacturers now sell tables that come pre-beaten with chains and hammers. It’s brilliant because the first scratch you add just blends in with the design.
The Seasonal Maintenance Calendar
To keep your sanity, automate your maintenance. Don’t wait until the furniture looks dull.
Spring:
- Deep clean with the two-bucket method.
- Inspect for sun damage (rotate the furniture if one side is fading).
- Tighten hardware. Loose legs cause wobble, which stresses joints.
Autumn:
- This is the critical time before the heating season.
- Apply a heavy coat of paste wax or feed the wood with oil.
- Check your humidifier. You want to maintain 40-45% relative humidity indoors to stop the wood from shrinking and cracking.
Winter:
- Spot clean only.
- Watch for salt damage near the floor. Salt crystals eat lacquer. Wipe legs with a damp cloth weekly.
Clutter leads to damage. If you’re struggling with overflow, learning how to organize entryways without dedicated closet space can save your furniture’s finish. When items have a home, they aren’t being piled haphazardly onto your delicate surfaces.
Advanced Techniques: Dealing with Veneer
Many modern “wood” pieces in high-traffic zones are actually veneer—a thin slice of hardwood glued over particle board or MDF.
Maintaining veneer is high-stakes poker. If you sand it too hard to remove a scratch, you will burn right through to the cheap substrate underneath. Once that happens, the piece is effectively ruined.
Veneer Rules:
- Never use excessive water. If water gets under the veneer, it will bubble and peel.
- No heavy sanding. Use 0000 steel wool for polishing, not sandpaper.
- Glue loose edges immediately. If a piece of veneer chips up at the corner, inject wood glue with a syringe and clamp it down with painters tape. If you catch it on a sweater, you’ll rip the whole side off.
For quick touch-ups on veneer edges that have worn down, I keep a Katzco Furniture Repair Kit Wood Markers in my junk drawer. It’s not a permanent restoration, but it hides the sins of daily life effectively.
The Philosophy of Wabi-Sabi
There is a Japanese concept called Wabi-Sabi, which centers on the acceptance of transience and imperfection.
In a high-traffic home, your wood furniture will get marked. It will get dented. A pristine table in a house full of life is, frankly, a bit unnerving. It looks like a museum, not a home.
The goal of this guide isn’t to keep your furniture in a state of suspended animation. It is to prevent catastrophic failure (cracks, peeling, rot) and to manage the cosmetic wear so that it looks lived in, not neglected.
The Bottom Line:
- Control the Environment: Humidity and UV light do more damage than your kids.
- Avoid Silicone: It’s the fast food of furniture polish—satisfying now, regret later.
- Layer Protection: Oil nourishes, wax sacrifices itself, runners protect.
- Repair Early: A small chip in the finish lets moisture in, which eventually lifts the whole finish. Seal wounds immediately.
Maintaining wood in high-traffic zones is an ongoing relationship. Listen to the wood. If it looks dry, feed it. If it feels rough, wax it. Treat it with respect, and it will anchor your home for generations, bearing the scars of your family history with pride.