Hallway Coat Storage: the Definitive Guide to Spatial Design & Hardware Installation

Master the spatial planning, ergonomics, and structural installation of hallway coat storage. Avoid common mounting mistakes, optimize for family demographics, and choose the right materials.

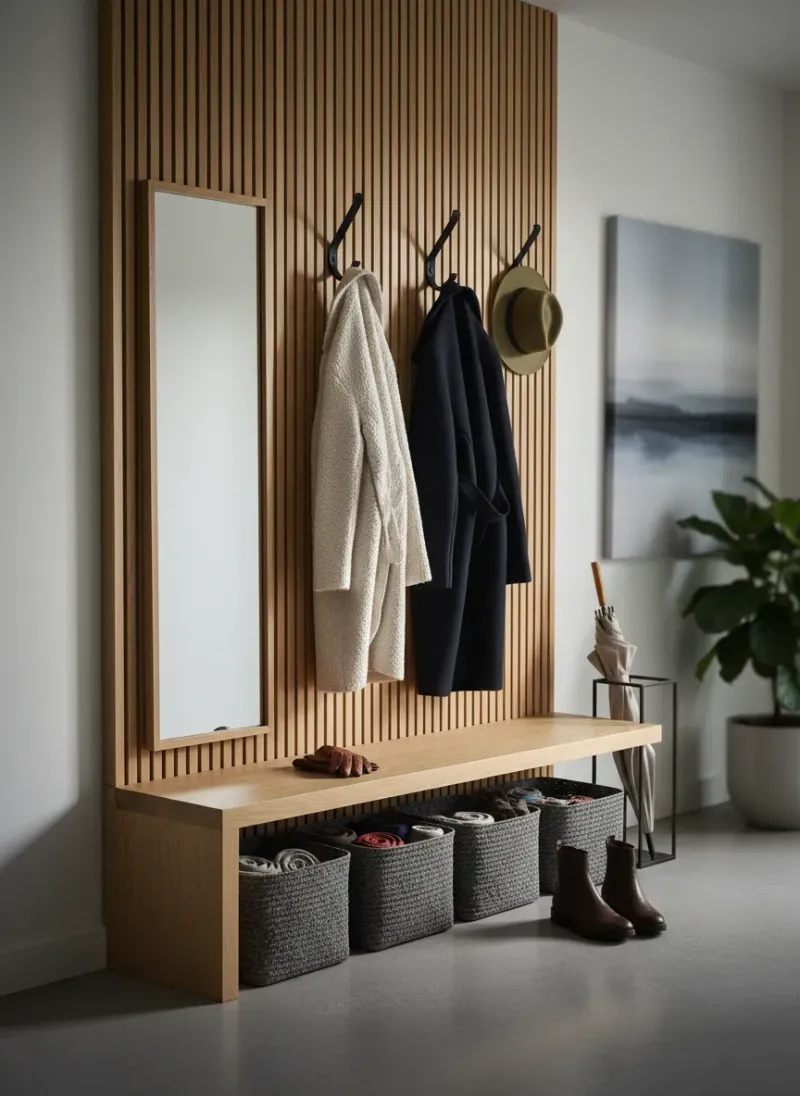
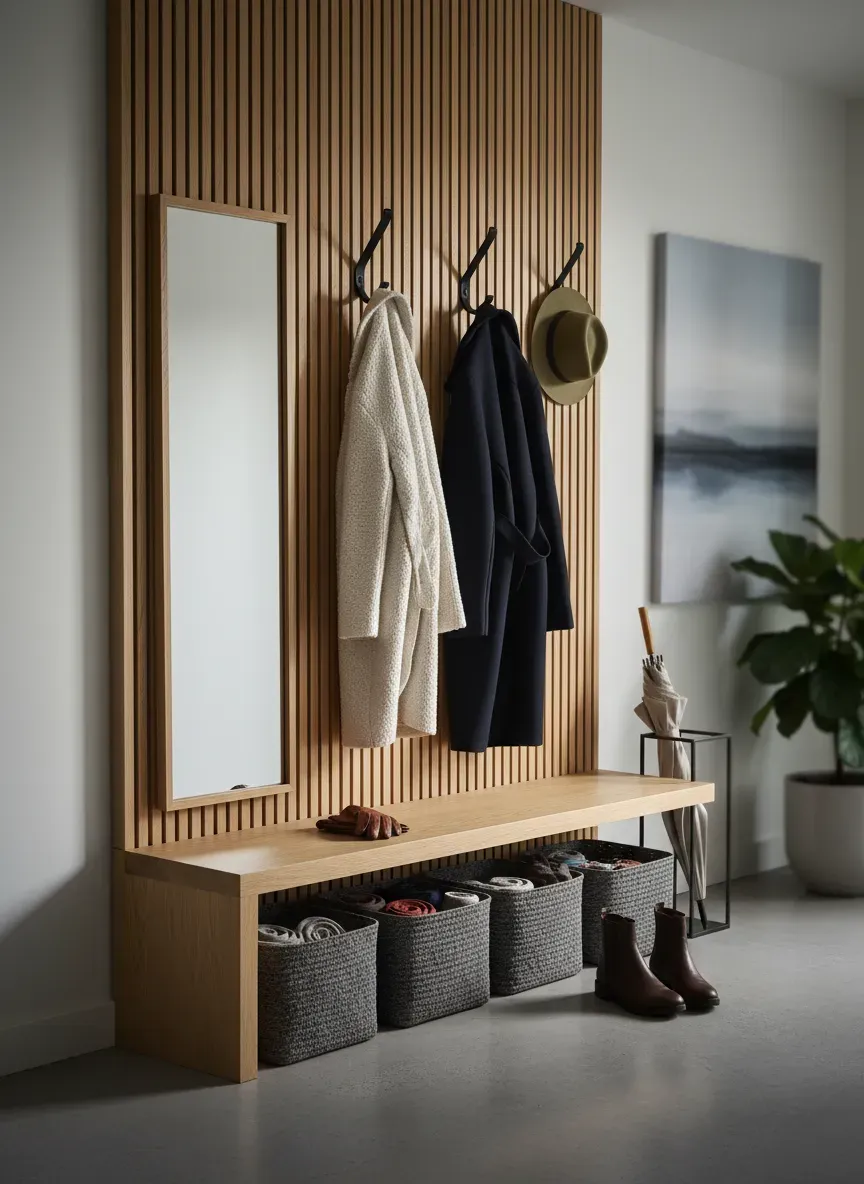
Organized hallway coat storage featuring a clean wooden peg rail with custom bags and coats hanging neatly.

The threshold of your home is a high-stakes psychological boundary. When you step through the front door, you shed the physical and mental weight of the outside world. Yet, if your entryway lacks a highly functional, intentionally designed storage system to capture your outerwear, that transition instantly devolves into a stressful obstacle course of discarded parkas, scattered bags, and tripped-over accessories.

Throughout my 12 years of consulting on residential storage layout design across New England, I have consistently found that treating the entryway as an afterthought is the fastest way to sabotage a home’s organization. An effective hallway coat storage system transcends nailing a cheap strip of hooks into drywall. It requires a detailed understanding of spatial clearance, human biomechanics, substrate strength, and material durability.


The Spatial Topography of Hallways: Clearance Zones

Before purchasing furniture or drilling holes, you must map the physical boundaries of your corridor. Hallways are high-velocity transit zones. If your storage system protrudes too far, it turns a functional pathway into a daily bottleneck.

The 36-Inch Corridor Rule

The standard residential hallway width in North America is 36 inches (914 mm). In historic pre-war homes or tight urban apartments, this can shrink to 32 inches (812 mm).

To maintain safe and comfortable passage, a hallway requires a minimum clear walking path of 24 to 28 inches (610–711 mm). This represents the clearance needed for an adult carrying groceries or a backpack to walk without turning sideways.

+-------------------------------------------------------------+
|                                                             |
|   <================= 36" Total Width ==================>    |
|                                                             |
|   +---------+  <============= 28" Clearance ============>   |
|   | Protruding                                              |
|   | Coats   |                                               |
|   | (6"-8") |                                               |
|   +---------+                                               |
|                                                             |
+-------------------------------------------------------------+

When outerwear is hung on a hook, it protrudes 6 to 8 inches (152–203 mm) from the wall. Heavy down parkas or winter overcoats can protrude up to 10 inches (254 mm).

If your hallway is only 36 inches wide, a hook rail mounted at shoulder height reduces the clear path to 26–28 inches. This is tight but acceptable. However, if you place a freestanding coat tree or a 15-inch-deep wardrobe in that same corridor, the path shrinks to 21 inches, creating a claustrophobic bottleneck.

  • For hallways under 42 inches (1066 mm) wide: Use wall-mounted solutions. Keep the floor space completely clear.
  • For hallways 42 to 48 inches (1066–1219 mm) wide: You can introduce low-profile shoe cabinets (under 10 inches deep) or slim benches.
  • For foyers over 48 inches (1219 mm) wide: Monolithic furniture like hall trees or shallow armoires becomes a viable option.

Hook Heights: The Ergonomic Framework

Outerwear storage must accommodate the vertical reach of your household’s residents. Standardizing all hooks at a single height is a common mistake that leads to clutter—either because children cannot reach the hooks, or because long coats drag on dirty floors.

Vertical Hook Alignment Guide
=========================================================
[72" - 84"]  High Storage (Hats, Seasonal Items)
[60" - 66"]  Adult Primary Hook Range (Standard Drop Zone)
[40" - 48"]  ADA Accessible Range / Teen / Bag Hook Zone
[36" - 42"]  Child Primary Hook Range (Ages 4-8)
[18"]        Standard Seating Bench Surface
=========================================================

1. Adult Primary Range: 60 to 66 Inches (1524–1676 mm)

The standard height for adult coat hooks is 60 inches (1524 mm) from the finished floor to the center of the hook mounting plate. This measurement aligns with the average adult shoulder height, allowing you to hang garments with a natural, low-strain arm extension.

  • Ceiling Height Adjustments: If your entryway features 9-foot or 10-foot ceilings, mounting hooks at 60 inches can make the wall look visually bottom-heavy. In these spaces, elevate the hooks to 66 inches (1676 mm) to balance the wall proportions while keeping them within comfortable reach.

2. Child Primary Range: 36 to 42 Inches (914–1066 mm)

For households with children aged 4 to 8, hooks must be mounted lower. The average 5-year-old has a maximum upward reach of roughly 38 inches. A hook set at 60 inches is completely inaccessible to them, resulting in school bags and coats being dropped directly onto the floor.

Setting a dedicated row of child-height hooks at 36 to 40 inches (914–1016 mm) empowers young children to hang their own gear.

  • Transitioning Heights: For pre-teens (ages 9 to 12), raise these hooks to 48 to 54 inches (1219–1372 mm).

3. ADA Accessible Range: 40 to 48 Inches (1016–1219 mm)

To comply with the Americans with Disabilities Act (ADA) guidelines (Section 308) for universal accessibility, hooks must be positioned to allow a side or forward reach from a wheelchair. The maximum height for an unobstructed reach is 48 inches (1219 mm), and the minimum height is 15 inches (381 mm). For accessible design, a target height of 44 to 46 inches is ideal.


Hook Spacing and Capacity Planning

Spacing hooks too closely is a major driver of disorganized entryways. When hooks are cramped, hanging one coat knocks adjacent garments off, leading to a messy floor pile.

Horizontal Spacing Configurations
=========================================================
Standard Spacing:
  (Stud)                (Stud)                (Stud)
  [Hook] ---- 8" ---- [Hook] ---- 8" ---- [Hook]
  |<--------------- 16" Stud Gap -------------->|

Staggered Double-Row Spacing (High Density):
  [Hook 1]             [Hook 2]             [Hook 3]
     \                    /                    \
      \                  /                      \
    [Bag/Kid Hook]   [Bag/Kid Hook]        [Bag/Kid Hook]
=========================================================

The Spacing Math

  • Minimum Spacing: Hooks must be spaced a minimum of 8 inches (203 mm) apart. This works well for lightweight jackets, umbrellas, dog leashes, and small bags.
  • Optimal Spacing: For heavy winter coats, down parkas, and backpacks, space your hooks 10 to 12 inches (254–305 mm) apart. This provides enough clearance to prevent garments from overlapping and trapping moisture.

Planning for a Family of Four

To design a system for a household of four, assume each person will have a minimum of two active items in daily rotation (e.g., one heavy coat, one light jacket or bag). This requires 8 total hooks.

  • Linear Hook Rail Approach: Spaced at 10 inches apart, an 8-hook single row requires 70 inches (1778 mm) of continuous wall space.
  • Staggered Double-Row Approach: If horizontal space is limited, split the layout into two staggered horizontal rows separated by a vertical distance of 18 inches (457 mm). Offset the top and bottom hooks horizontally by 5 inches (127 mm). This allows you to fit 8 hooks in just 35 inches (889 mm) of linear wall space without the coats overlapping.

Structural Integrity: Drywall Substrates and Mounting Mechanics

A wet winter coat, a loaded school backpack, and the downward pull of a child pulling down their jacket can easily apply over 40 pounds of sudden force to a hook. Mounting hooks using cheap plastic drywall anchors will eventually fail, tearing out chunks of gypsum and damaging your walls.

Mounting Substrate Comparison
=============================================================================
Method                 Max Load Capacity   Installation Complexity   Reliability
-----------------------------------------------------------------------------
Direct Stud Mounting   80+ lbs per screw   Medium                    Excellent
Backer Board Method    150+ lbs total      Medium-High               Excellent
Drywall Toggle Bolts   50 lbs per anchor   Low-Medium                Good
Plastic Wall Plugs     10-15 lbs           Low                       Poor (Avoid)
=============================================================================

1. Direct Stud Mounting (The Gold Standard)

Whenever possible, your mounting screws must penetrate directly into the vertical wood studs behind the drywall. Studs are typically 2x4 or 2x6 framing lumber spaced 16 inches (406 mm) apart on center.

  • Hardware: Use 2.5-inch or 3-inch #8 or #10 wood screws. The screw must penetrate the drywall (typically 1/2-inch or 5/8-inch thick) and seat at least 1.5 inches deep into the center of the wooden stud.
  • Limitation: Because studs are spaced at fixed 16-inch intervals, mounting hooks directly to studs restricts your hook spacing options.

If you want to mount a row of hooks at custom intervals (e.g., every 10 inches) without being constrained by stud locations, install a solid wood backer board first.

  1. Material: Select a premium hardwood board, such as 1x4 or 1x6 white oak, walnut, or maple (actual dimensions: 3/4-inch thick by 3.5 or 5.5 inches wide). Avoid cheap construction pine, which dents easily under daily use.
  2. Mounting the Board: Use a stud finder to locate the studs. Secure the backer board horizontally to the wall by driving two 3-inch wood screws through the board and into each wall stud along its path.
  3. Mounting the Hooks: With the backer board securely anchored to the studs, you can screw your coat hooks anywhere along the face of the board using standard 3/4-inch wood screws. This method distributes the load evenly across the wall frame and prevents wall damage.

3. Drywall Toggle Bolts (The Hollow Wall Alternative)

If you must mount a hook in a section of wall where there is no stud, do not use plastic expansion anchors. Instead, use heavy-duty steel toggle bolts (also known as butterfly anchors).

  • How they work: A toggle bolt consists of a machine screw threaded through a spring-loaded metal wing assembly. You drill a hole through the drywall, collapse the wings to insert them, and let them spring open against the backside of the drywall. Tightening the screw clamps the drywall firmly between the hook base and the metal wings.
  • Capacity: A 3/16-inch toggle bolt installed in 1/2-inch drywall can safely support up to 50 pounds of shear weight.

Hook Geometry and Garment Care

The shape and design of your hooks have a direct impact on the lifespan of your clothing. Narrow, sharp, or aggressively angled metal hooks concentrate the weight of a garment onto a tiny area, causing permanent stretching, collar bumps, or torn lining loops.

Hook Profiles & Garment Impact
-----------------------------------------------------------------
  ( ! ) Sharp Metal Hook       ( √ ) Rounded Peg / Shaker Peg
      \                             _______
       \                           (       )
        \----[ Tear Point ]         \     / ----[ Wide Support ]
                                     |   |
-----------------------------------------------------------------
  • Avoid: Narrow, stamped-metal wire hooks or hooks with sharp tips. These will ruin delicate sweaters, rain jackets, and coat loops.
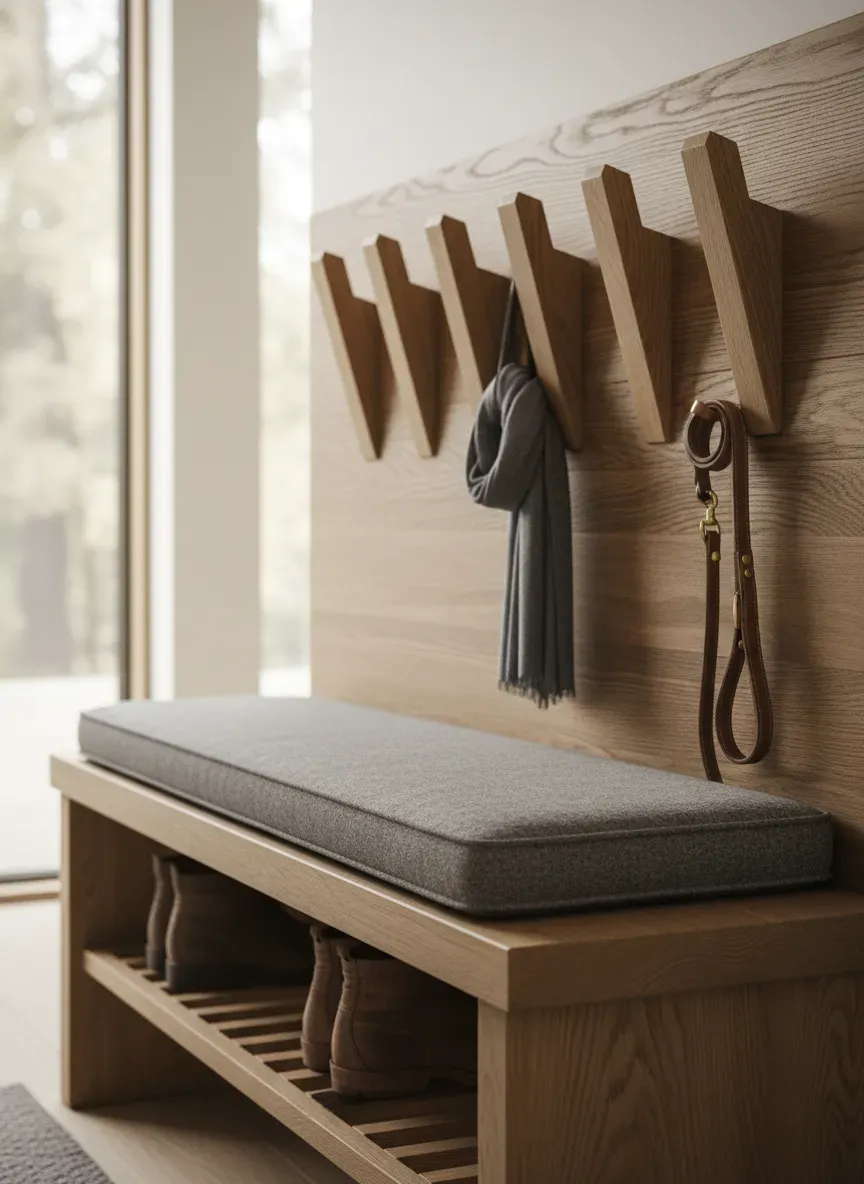
  • Choose: Wooden Shaker-style pegs (minimum 1-inch diameter at the tip), ceramic knobs, or thick cast metal hooks with large, rounded finials or ball tips. These distribute the weight of the garment across a wider surface area, protecting your garments.
  • Leather Care: If you regularly hang heavy leather jackets, consider using a coat rod with wood hangers rather than hooks, as hooks can distort the shoulders of heavy leather over time.

Storage Archetypes: Pros and Cons

Every home has different spatial constraints and aesthetic goals. Here is a comparison of the three primary coat storage configurations.

ArchetypeBest ForProsCons
Wall-Mounted Peg RailNarrow hallways (<42” wide), budget-friendly setups, minimalist aesthetics.Zero floor footprint, highly customizable length, low cost, easy to clean underneath.Exposes visual clutter, requires robust wall anchoring to prevent drywall damage.
Freestanding Hall TreeWide entryways (>48” wide), renters (no drilling), mudrooms.All-in-one storage (hooks, bench, shoe rack), easy to move, requires no wall installation.Large footprint, can be unstable if overloaded, children may struggle to reach top hooks.
freestanding Coat StandSmall corners, minimal daily storage needs.Low footprint, mobile, cheap.High tipping hazard, limited capacity (typically 4–6 coats max), easily cluttered.

Concealed vs. Exposed Storage: Ventilation and Visual Clutter

Choosing between open hooks and a closed wardrobe is a major decision point in your home’s design. Each option brings its own practical challenges.

1. The Open Hook System

Open hooks offer the lowest possible friction. When you walk through the door, you can hang your coat in a single, fluid motion. This makes it highly likely that family members will actually use the system.

  • The Clutter Challenge: Open storage is visually honest. If you hang multiple colorful winter jackets, dog leashes, and bags, the entryway can look chaotic.
  • The Curation Rule: To keep open storage looking tidy, implement a strict seasonal rotation. Only allow active, current-season coats on the hooks (maximum 2 per person). Store off-season coats, formal wear, and occasional jackets in a secondary closet.

2. The Closed Wardrobe or Armoire

A closed wardrobe hides visual clutter, creating a clean, modern aesthetic. However, closing a door on wet or damp outerwear introduces a serious maintenance issue: moisture trapping.

  • The Mold Risk: Hanging a damp rain jacket or snowy wool coat inside a sealed MDF wardrobe traps moisture. Within 48 hours, relative humidity inside the cabinet can exceed 70%, creating an ideal breeding ground for mold, mildew, and musty odors.
  • Ventilation Requirements: If you choose closed storage for active coats, the cabinet must be ventilated. Look for wardrobes with louvered doors, perforated metal panels, or mesh inserts. If you are converting a standard closet, install a simple vent grille at the top and bottom of the door to encourage passive airflow.

Material Selection for Custom Hook Boards

If you choose to build a custom hook rail or backer board, your choice of timber will determine both its longevity and appearance.

Hardwood vs. Softwood Durability
=============================================================================
Timber Class   Wood Species   Janka Hardness   Screw Holding   Durability
-----------------------------------------------------------------------------
Hardwood       White Oak      1,360 lbf        Excellent       Very High
Hardwood       Hard Maple     1,450 lbf        Excellent       Very High
Hardwood       Walnut         1,010 lbf        Good-Excellent  High
Softwood       White Pine     380 lbf          Poor-Fair       Low (Dents)
=============================================================================
  • Premium Hardwoods (White Oak, Hard Maple, Walnut): These are dense, strong timbers with excellent screw-holding capacity. They resist the torque applied to hooks over time and will not dent when keys or metal zippers strike them. White Oak (Janka hardness: 1,360 lbf) is particularly outstanding for high-traffic zones due to its natural rot and moisture resistance.
  • Utility Softwoods (White Pine, Douglas Fir): While cheap and easy to work with, softwoods (Pine Janka hardness: 380 lbf) are highly susceptible to denting, scratching, and screw pull-out. If a heavy backpack is hung from a hook screwed into soft pine, the screws can slowly loosen over time. Use softwoods only if you plan to paint the board and accept a more rustic, worn look over time.

Common Installation Pitfalls to Avoid

Even with precise measurements, small design oversights can ruin a great installation.

1. Mounting in the Door Swing Arc

Before drilling, physically swing your entry door all the way open. Mark its path on the wall using painter’s tape. Never mount hooks or racks within this arc. Doing so will prevent the door from opening fully, cause the door to smash into hanging garments, or result in metal hooks gouging your door’s finish.

2. Proximity to Baseboard Heaters and Radiators

If you mount hooks above a radiator or hot water baseboard heater, you must calculate the drop length of your longest garments. Hanging a long nylon or synthetic coat directly over a heater is a fire hazard and can damage the fabric. Ensure you have at least 12 inches (305 mm) of vertical clearance between the hem of your longest coat and the top of any heating element.

3. Ignoring Wall Utilities (Pocket Doors and Plumbing)

Be careful when drilling into walls that house pocket doors. A standard pocket door cavity leaves only about 3/4-inch of clearance between the drywall and the wooden door. Using a 2-inch mounting screw will penetrate the cavity, scratching your door and blocking it from sliding. Use short screws and heavy-duty adhesive or specialized shallow anchors in these areas. Additionally, avoid walls that contain bathroom plumbing stacks or electrical conduits.


The Seasonal Transition: Keeping Your Foyer Functional

An entryway storage system is a dynamic space that must adapt to the changing seasons. To maintain an organized home, establish a seasonal rotation routine:

Seasonal Rotation Workflow
=============================================================================
Spring/Summer Transition:
  1. Clean & dry winter parkas/boots.
  2. Move winter gear to deep storage (bedroom closets, under-bed boxes).
  3. Clean hook rail and check mounting screw tightness.
  4. Hang light windbreakers, umbrellas, and canvas sun totes.

Fall/Winter Transition:
  1. Clean & store summer sun hats and sandals.
  2. Check wood bench top coating for water resistance.
  3. Deploy rubber boot trays to catch snow and salt.
  4. Hang heavy insulated coats and wool parkas.
=============================================================================
  • Spring/Summer Reset: As the weather warms, clear heavy winter coats and boots from the entryway. Run them through the wash or dry cleaners, and store them in secondary closets or under-bed storage bins. This frees up prime entryway real estate for light jackets, sun hats, and canvas tote bags.
  • Fall/Winter Reset: Before the first snow, inspect your entryway setup. Check the mounting screws of your hook rail for any looseness or wobble, and tighten them if necessary. Clean your wood bench and verify that its protective finish is intact. Deploy rubber boot trays to capture melting snow and road salt, protecting your floors from water damage.

By understanding the spatial requirements, choosing durable materials, and executing a secure structural installation, you can build a hallway coat storage system that keeps your entryway clean and organized for years to come.


Last updated: June 2026

Frequently Asked Questions

What is the best way to store coats in a hallway?

The most efficient way is a wall-mounted setup combining a horizontal hook rail or backer board with low shoe storage or a bench beneath. This keeps the floor clear and maximizes vertical space. For hallways under 42 inches wide, avoid freestanding coat trees or deep wardrobes, as they create severe traffic bottlenecks.

How do I mount coat hooks securely without them falling out of the wall?

You must anchor the hooks directly into wall studs using 2.5-inch to 3-inch wood screws. If the hook spacing does not align with your 16-inch stud intervals, install a solid wood backer board (such as white oak or maple) secured to the studs first, then mount the hooks directly to the board. For hollow drywall sections, use heavy-duty steel toggle bolts rated for at least 75 pounds.

How much space should I leave between coat hooks?

Space coat hooks between 8 and 12 inches apart horizontally. Spacing closer than 8 inches causes bulky winter outerwear to overlap, pushing coats off the hooks and creating a disorganized clutter pile. An 8-inch spacing works well for light jackets and bags, while 12 inches is recommended for heavy winter parkas.

How do I stop hallway coat hooks from damaging garment collars?

Avoid narrow, sharply pointed metal hooks. Instead, choose wooden Shaker pegs (minimum 1-inch diameter at the tip), ceramic knobs, or metal hooks with rounded caps or rubberized tips. These distribute the weight of the garment across a wider surface area, preventing fabric stretching and collar tears.

Should I use open hooks or a closed wardrobe for hallway coat storage?

Open hooks offer the lowest friction for daily use, making them highly effective for busy households, but they expose visual clutter. Closed wardrobes hide visual noise but require louvered or ventilated doors to prevent mold and musty odors from damp outerwear. For most homes, a hybrid system (open hooks for daily coats and closed storage for seasonal items) is optimal.

Top Picks: Best Hall Trees & Coat Racks

Editor's shortlist with verified ratings. Prices and availability below — clicking an Amazon link earns us a small commission at no extra cost to you.

# Product Rating Reviews Tag Check Price
1 Crosley Furniture Seaside Hall Tree 4.5 5,410 Top Pick View on Amazon
2 HOOBRO Hall Tree with Bench 4.5 2,230 View on Amazon
3 VASAGLE Hall Tree with Bench & Coat Rack 4.5 1,820 Best Modern View on Amazon
4 Alaterre Aspen Hall Tree 4.0 980 View on Amazon
5 Pemberly Row Farmhouse Hall Tree 4.0 1,450 Best Farmhouse View on Amazon

Affiliate disclosure: As an Amazon Associate we earn from qualifying purchases. Tag: entreyway-20 — change in src/data/topPicks.ts.

Enjoyed this guide? Share it!

Share: